My Flare Diary
(January 30, February 2, February 14, and February 20, 2008)
(doing the front flares)
January 30, 2008
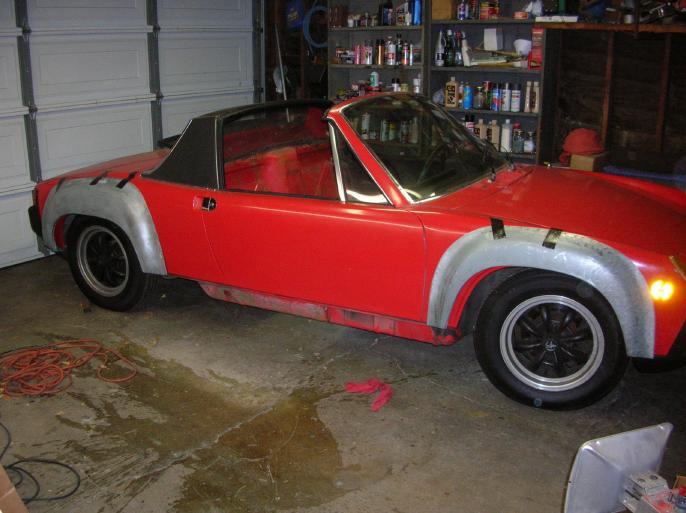
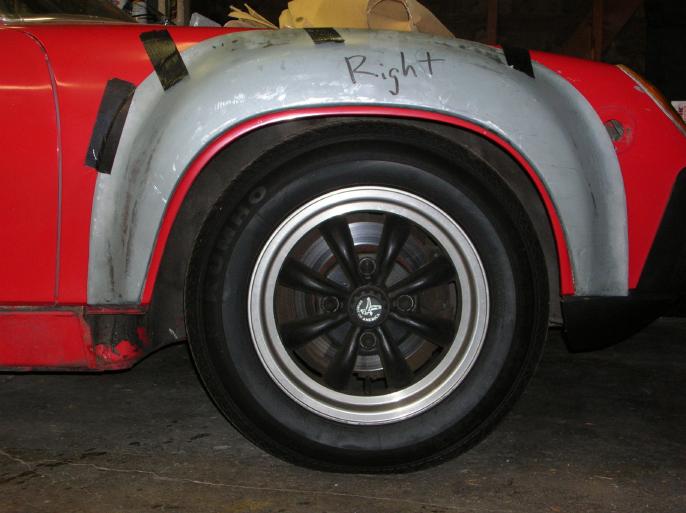
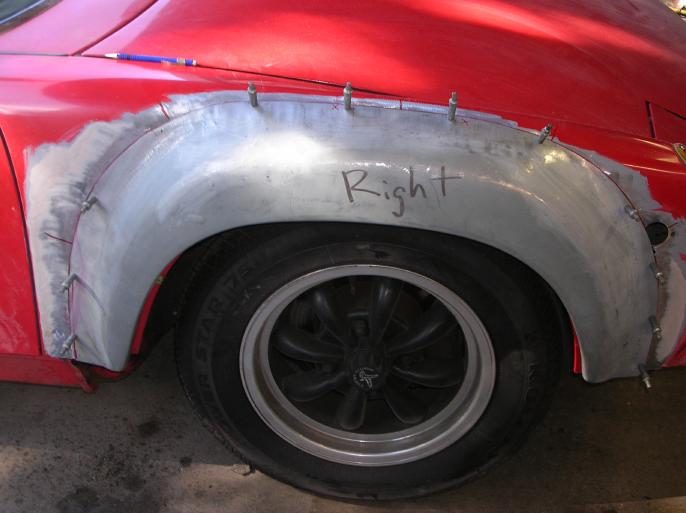
I got the flares on 1/23/08 from Auto Atlanta as part of a group buy and promptly ripped open the box. The very first thing I had to do is tape them on your car! This gets the juices going.
That turn indicator isn't on! It's just camera flash back.
It's just temporary, so the alignment isn't correct.
At this point, I started to get more serious and realized there is an issue that has to be addressed.
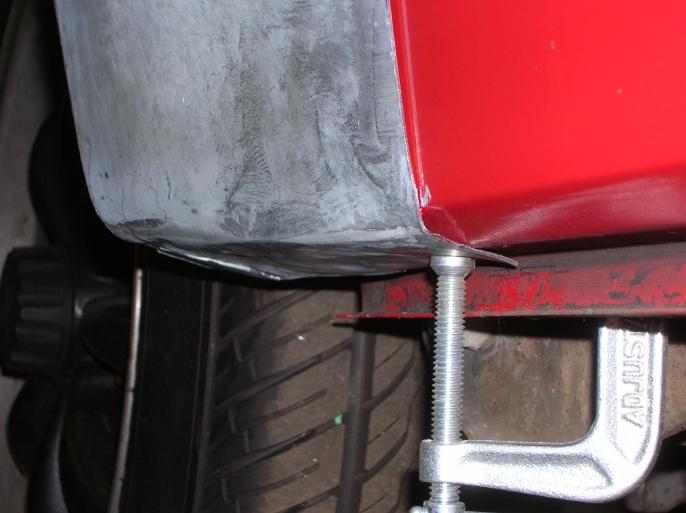
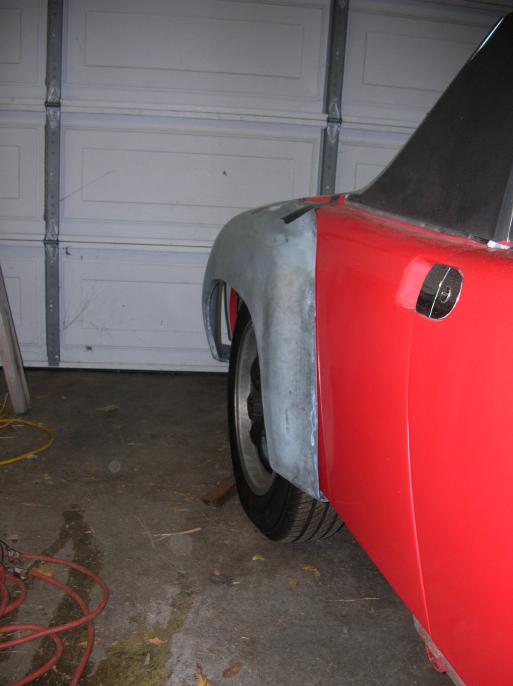
The side to side placement of the fenders is pretty much straightforward. The problem is what to do with this area, at the bottom edge of the body.
The bottom edge has a section that rolls off at a 45 degree angle before doing a final 45 degree angle to horizontal. It's that horizontal section that the roll pan rests against.
The bottom edge of the flare is a 90 degree angle to horizontal.
I could move the flare upward so that the bend in the flare lines up with the upper 45 degree bend in the body, but that would effect the angle of the flares upper surface (above the tire).
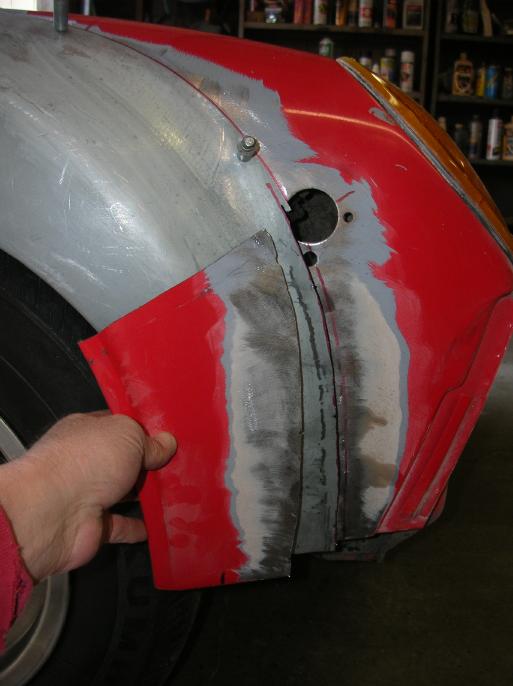
I'm going to do what was done in one of the Auto Atlanta write-ups (on 914world), as shown in the following (borrowed) photo. In the second photo, you can see that after installing the main section of the flare, they re-formed the bottom edge. (it also looks like it's lap welded on the bottom edge!)
Once that was decided, I got more serious about fitting the flares. I used C clamps at the lower edge and cleco's along the top.
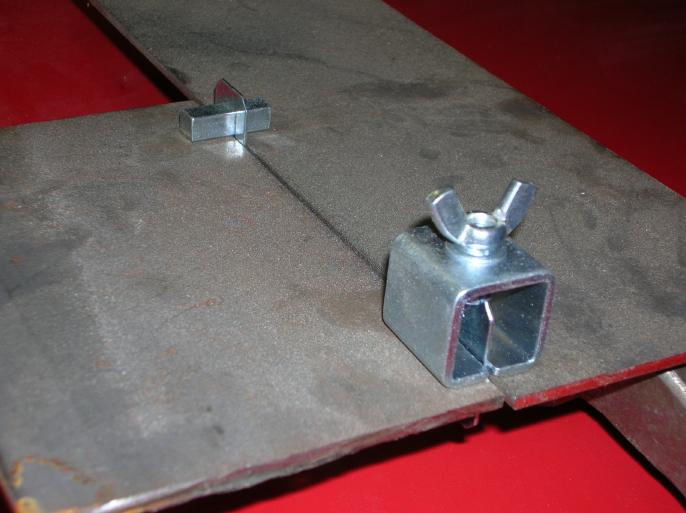
Of course, that leads to the question as to what a cleco is! They are a temporary clamp that works kind of like a pop rivet.
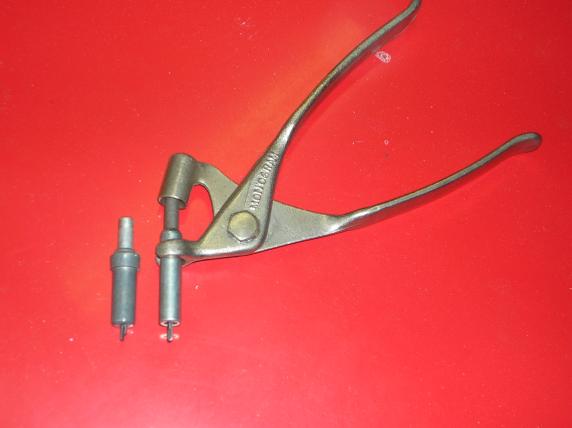
When you depress the pliers, those little fingers at the bottom of the clamp extend and get thinner, allowing you to insert them through the hole. Release the handle and the fingers clamp down on the metal. If you wanted to be cheap, you could use aluminum pop rivets and just drill them out when finished. (keep in mind that you are going to have remove and replace the fender a couple times while getting it positioned to your liking)
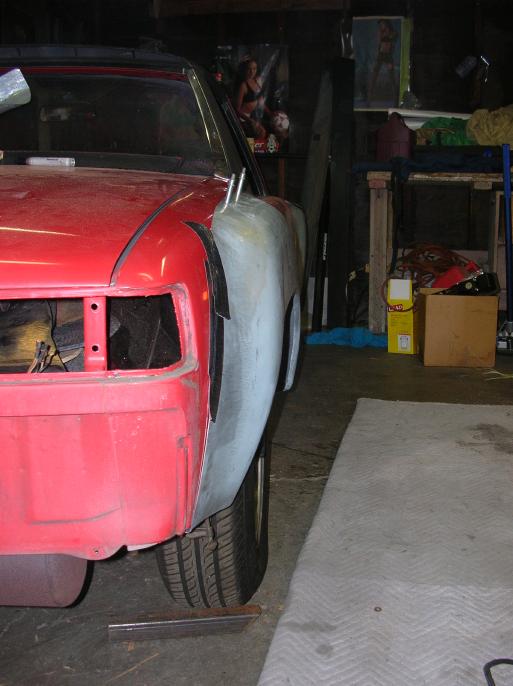
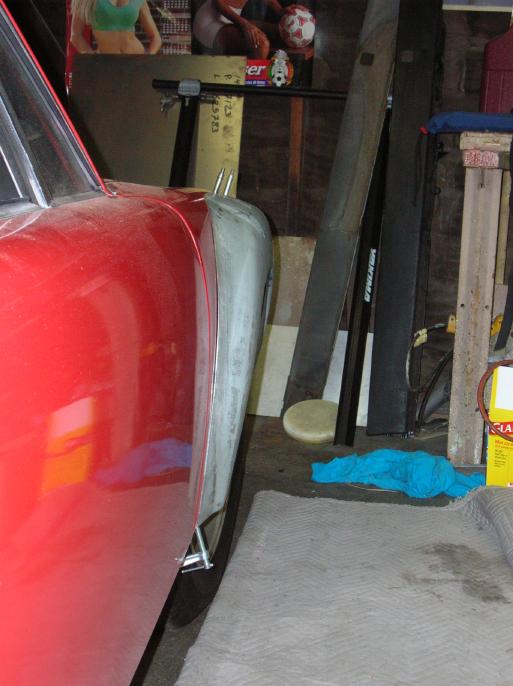
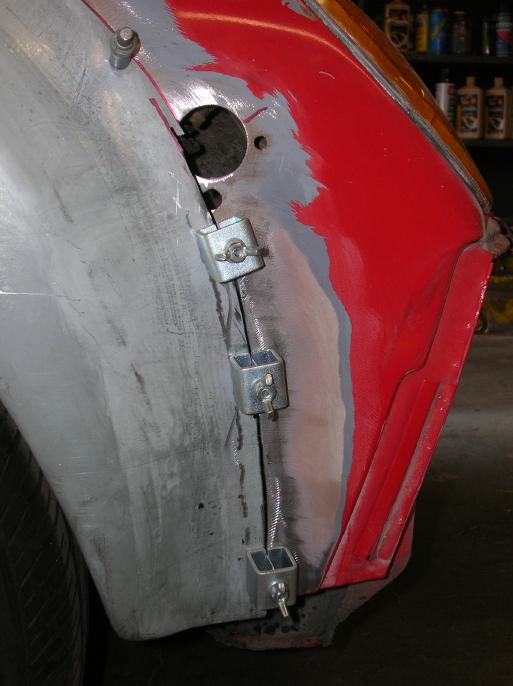
Here are photos of the front and rear flares with the cleco's holding the top in place.
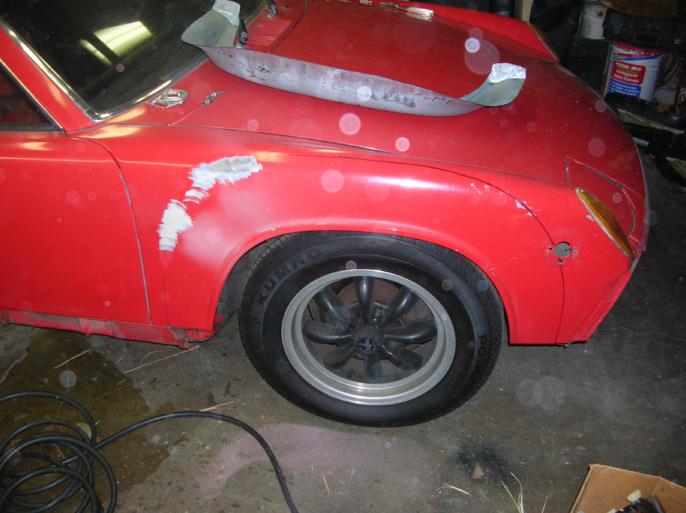
After marking around the edge of the flare with a marker, I removed them and ground off the paint. In the first photo following, you can see that I discovered a fairly thick coat of bondo.
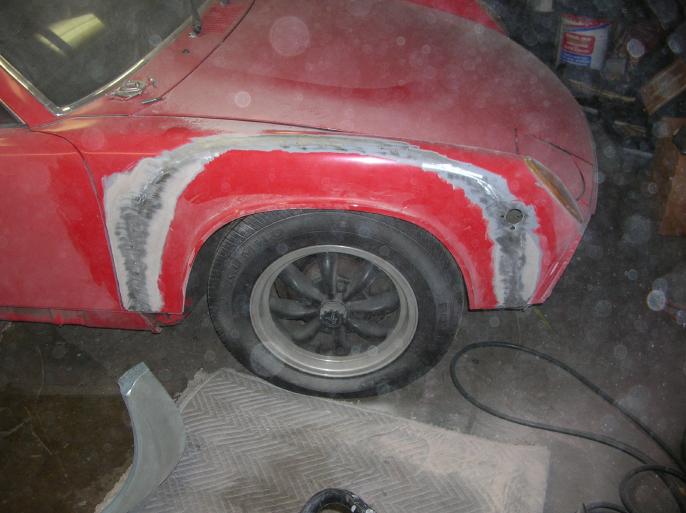
(bondo dust was getting on the camera lens)
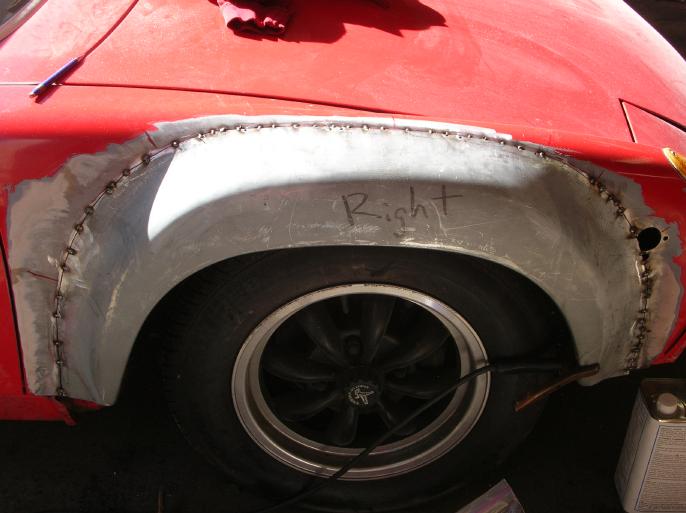
Here is the drivers side front flare, put back in place.
Here is a short diatribe on whether to butt weld or lap weld this thing.
There is nothing wrong with installing the flares and lap welding them regardless of what anybody says! You can't use the argument that the factory butt welded them due to the fact that not all cars sold with the M471 option had the flares installed at the factory. Some dealers installed the flares and really, nobody knows how they did them.
So, why did I decide to butt weld them?? It's just for bragging rights!!
February 2, 2008
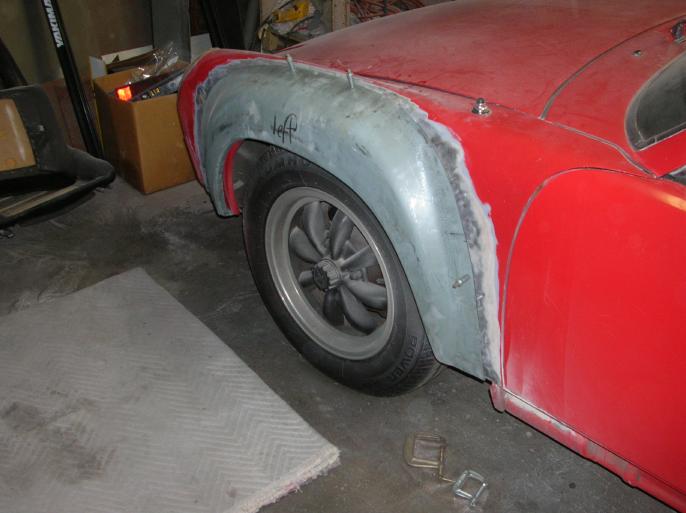
I've obsessed over the "correct" alignment of the flares and the lower edge for way too long. I finally decided that there really isn't a verifiable correct position.
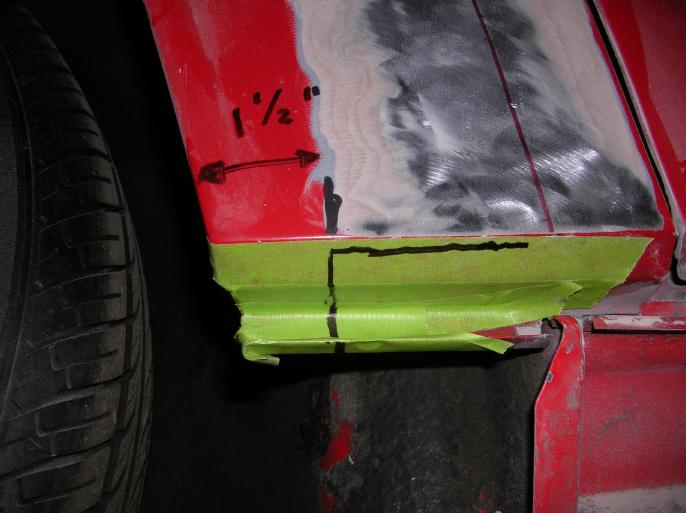
As for front to rear placement, I placed the flares slightly forward of center. The reason is that I was concerned about the tire hitting the leading edge while turning. The following photo shows how the rear edge has 1/2" set-back from the original fender. There is more clearance at the front.

I decided that it would be easier to work the flare in sections. In other words, while doing the installation, I'd be removing pie sections of the original fender.
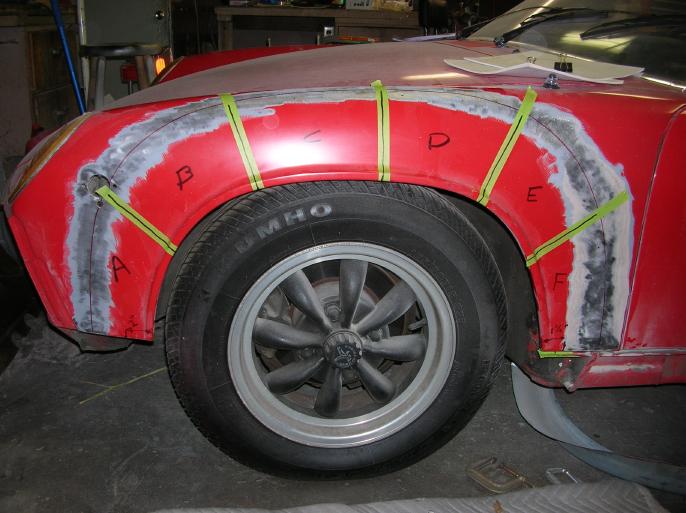
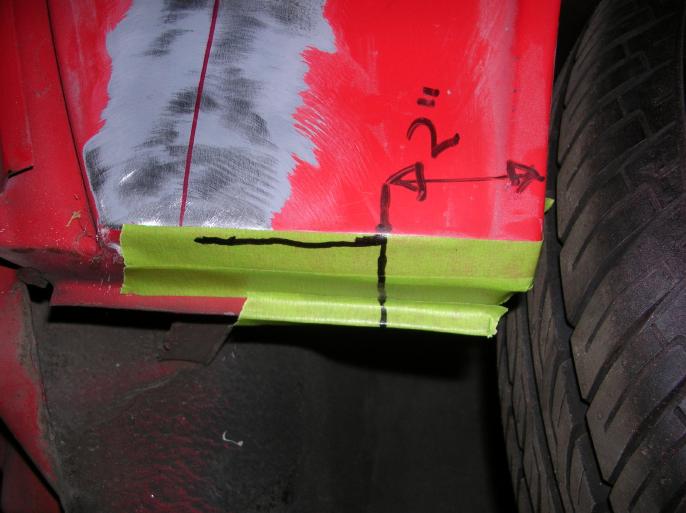
Before I did the final install, I cut along the black lines marked on the (green) masking tape. The ABC lettering is the sequence of sections that will be removed. The reason for all this is so that I can have the cleco clamps hold everything in place as I work along in sections.
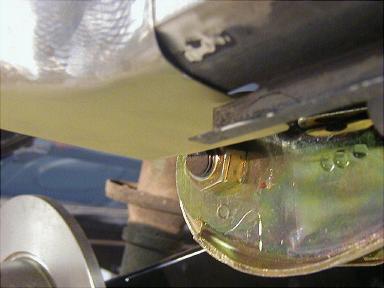
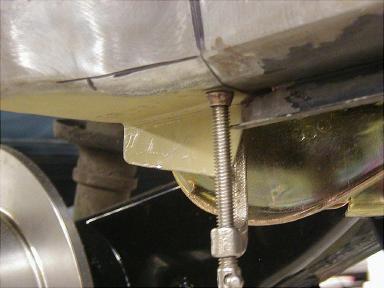
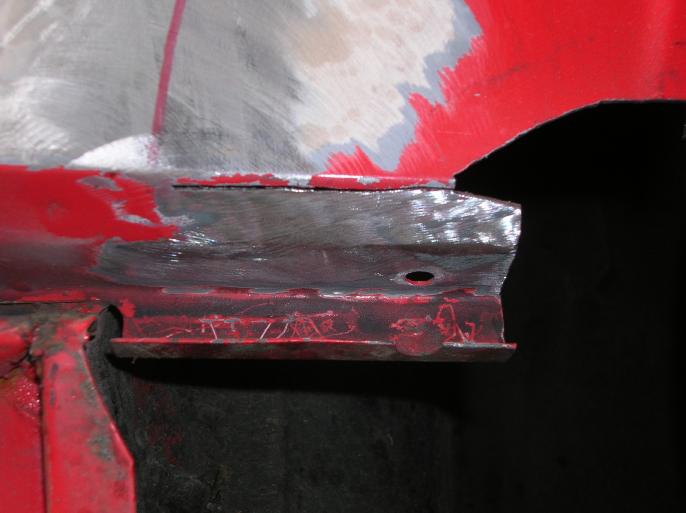
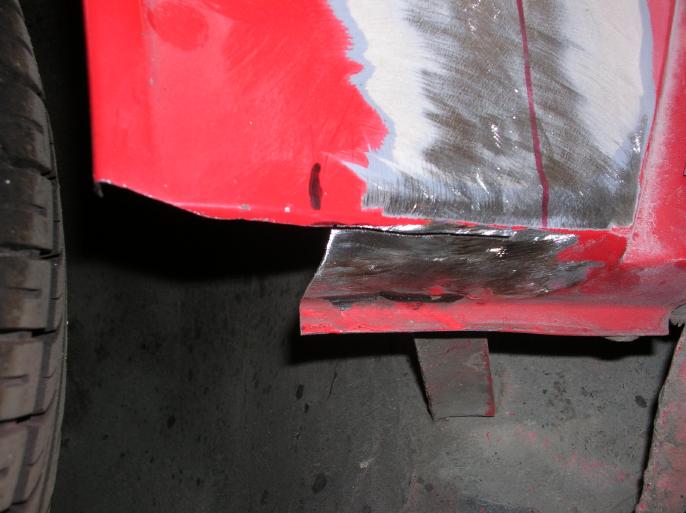
The lower sections of the original fender have to be cut back and also a cut so that the flare surface can be flush with the body. Keep in mind that the lower section below the fold line will be lap welded. By doing what is shown in the following photos, the inner fender support kicker is retained!!
The next photos show the lower edges after cutting.
On the lower edge, I drilled two holes so that I can puddle weld them to the lower section of the body.
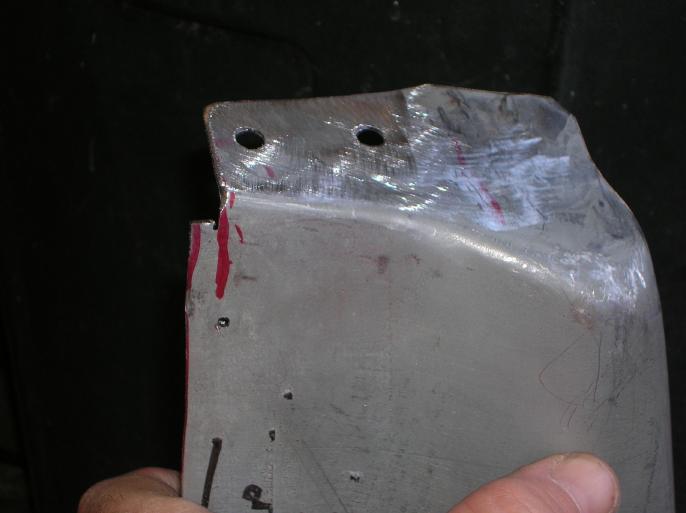
You should also notice that I cut a notch that will be along the "cut line". This has to be done or you wouldn't be able to cut off that lower edge.
Here is the fender in position with a whole bunch of cleco's holding it in place.
The following three photos show the process taken. The flare and fender section are cut about 3/8" from the edge of the flare, the inner fender pie section is removed, panel clamps are installed, and then it's welded up. Keep in mind that all the other cleco's are still holding the fender in place.

Here is a photo of two panel clamps. One is on the back side so you can see how they work.
The following photo shows how I've worked along to the upper edge.

The light was setting, but I got it all tack welded up, as shown in the last photo (for today).
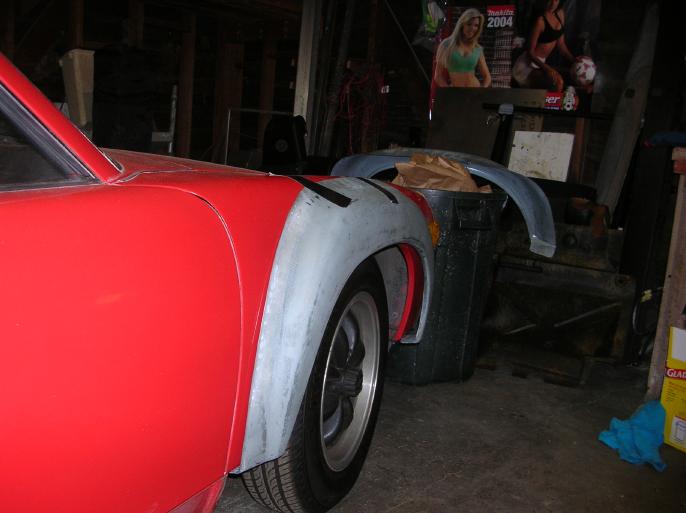
I also got the left fender to the same condition before calling it a night. I now have to finish weld it and grind down the welds. It will all be a series of spot welds so that the heat is kept down.
I also have to detail out the lower edges, but that's not until a latter date.
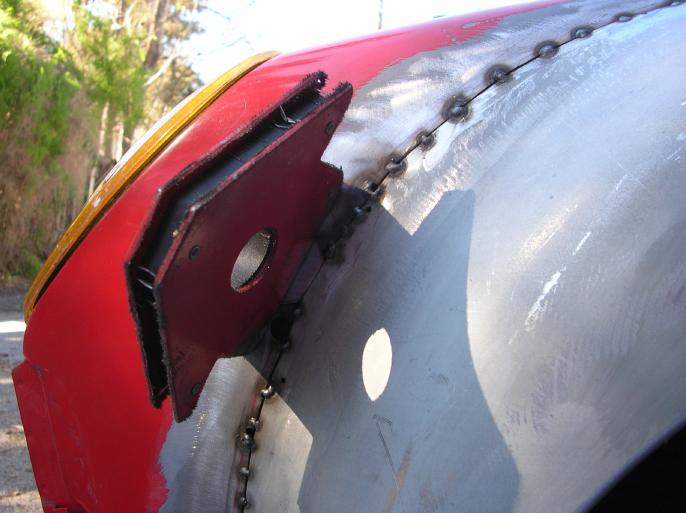
February 14, 2008
In this area, I'll show how I filled the "extra" holes left over from the turn lights.
In the following two photos I show the plug for the large hole and also a welding magnet holding it in place while it's being tack welded.
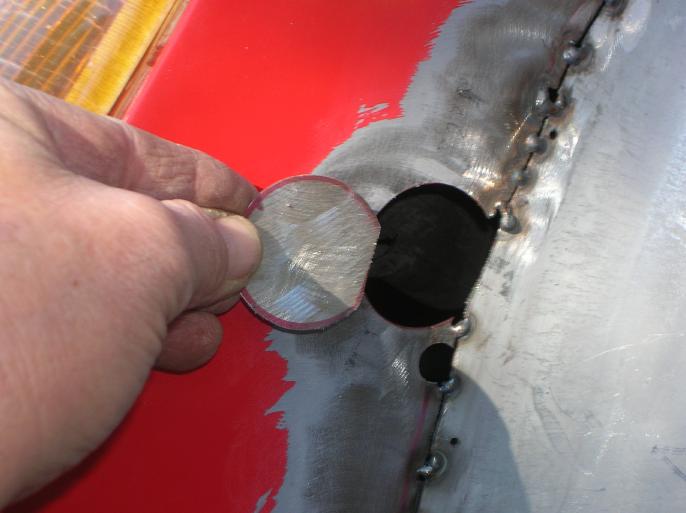
That left the two smaller holes to be addressed. Plugs were cut, but the welding magnet is too large to hold them in place (a different magnet could have worked).
A method that I've used in the past is to put duct tape on the back side to hold the plug in place.
It's a little tricky due to the fact that if you are MIG welding, the wire wants to push the plug out. You have to start the weld on the body metal and then transfer it to the plug. Just do one tack and then check that the plug didn't move. If it did move, just remove the plug and try again.
Now the real problem with this method is that the duct tape will melt and also catch fire!! Not big honking flames, but you have to be ready to rip it out quickly after the tack weld is placed. It's dripping molten crap, so make sure you use your welding glove to grab it!
Here is a photo of the welded and plugged flare.
As of today's date, the welds have been ground down and have been covered with "all-metal" bondo. I'm not posting up a photo of that due to it making it look worse.
Installing the rear flares is on hold until other rust work is done and the lower edges need to be addressed.
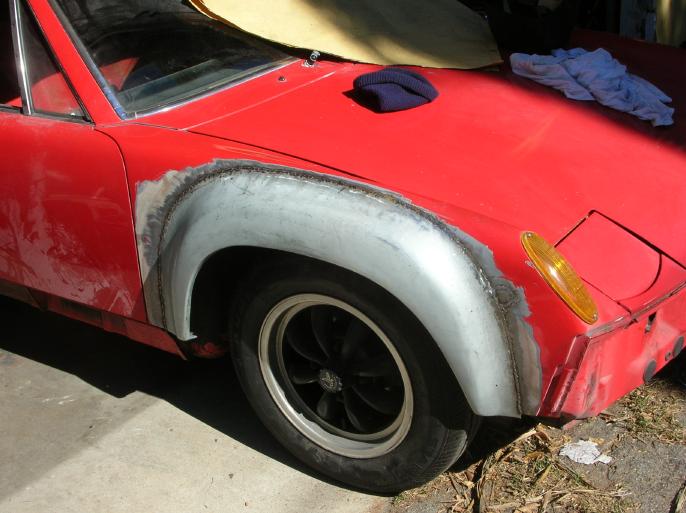
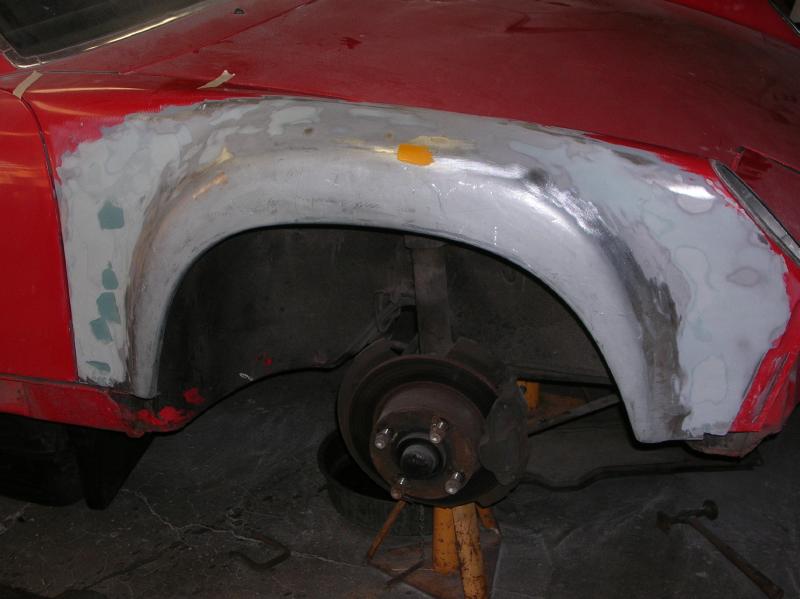
February 20, 2008
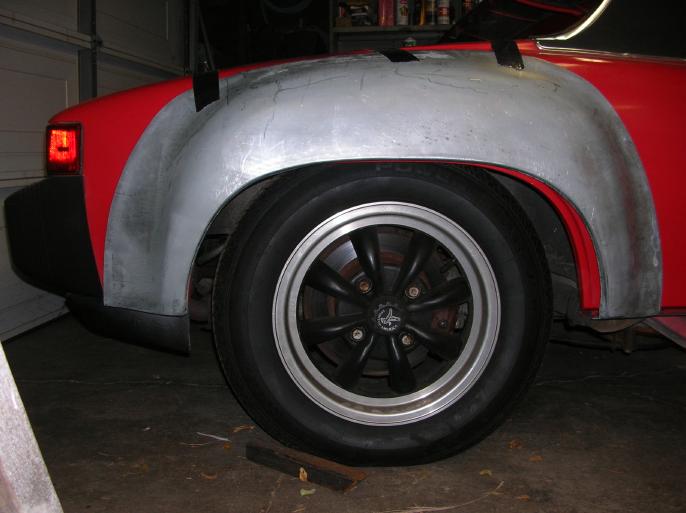
In between doing other things, I've played with smoothing out the front flares. Here is a current photo.
That's it for now.
go to the next "flare diary" page
return to my "flare diary" entry page
return to my site's entry page
Wes Vann