My Flare Diary
(June 30, 2008)
(doing the rear flares)
June 30, 2008; the rear flares;
This is going to be a quick page due to fact that the general process is covered under the "front flares" page. It's pretty much just a photo process.
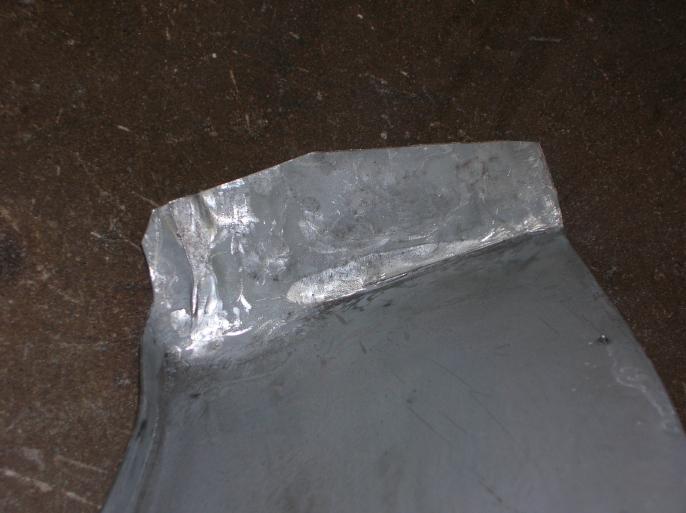
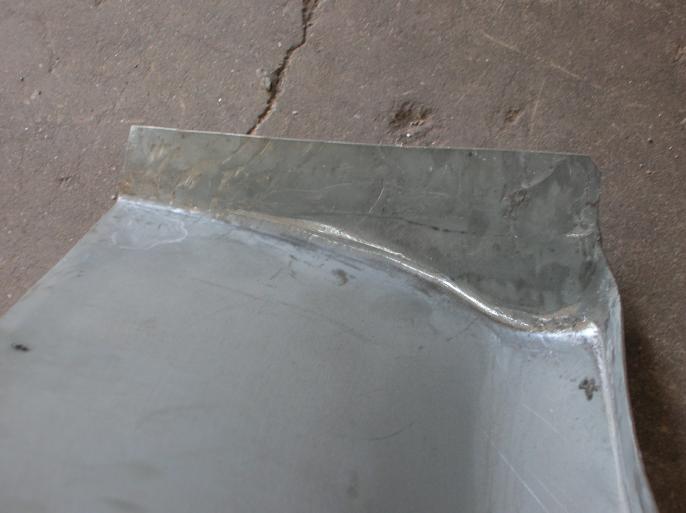
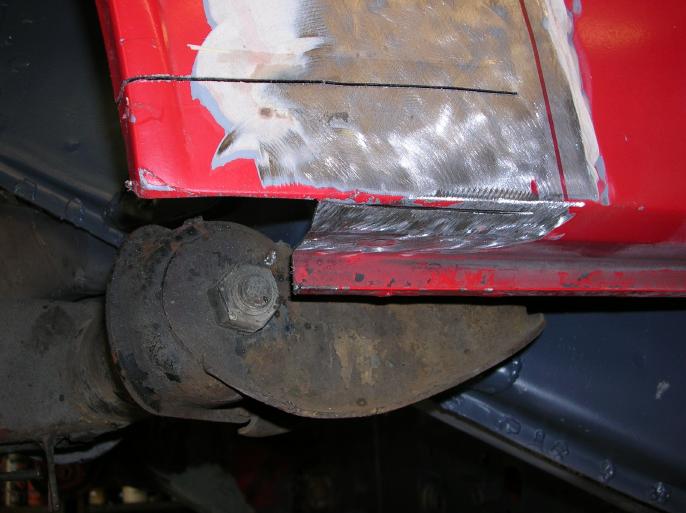
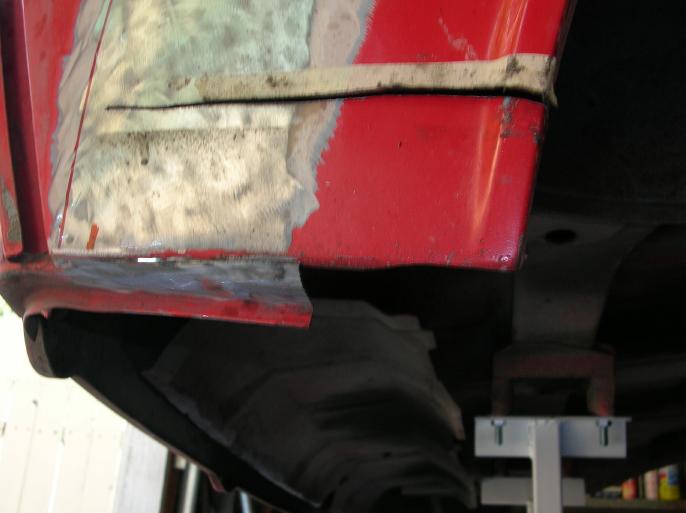
The two following photos show how I had to trim the bottom edge of the flares.
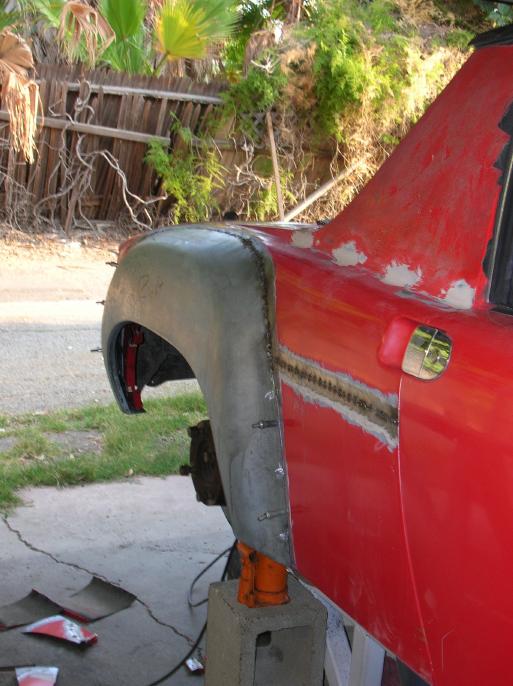
Here is the flare "cleco'd" to the fender and then the fender with it's tape cut lines. (you can also see where I re-installed the original fender after doing inner rust repair)
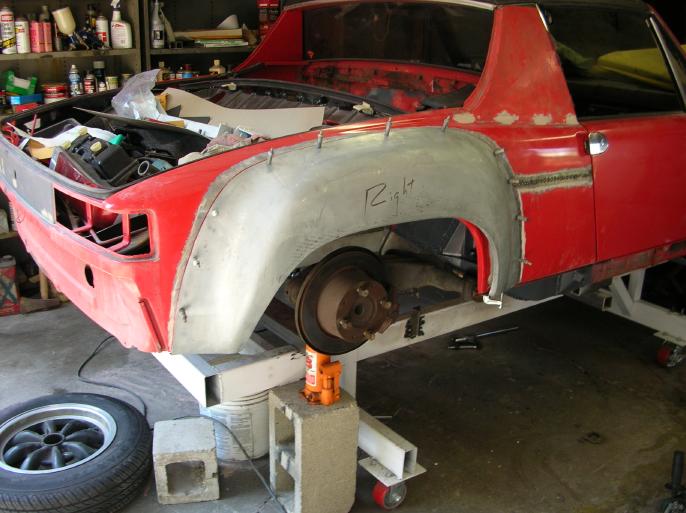

I then cut along the tape lines, making it so that the sections can be removed as you work around.
I trimmed (cut) the bottom of the fender as shown so that as I worked down to the bottoms, the flare would sit flush with the original metal. The original supports for the fender are retained!
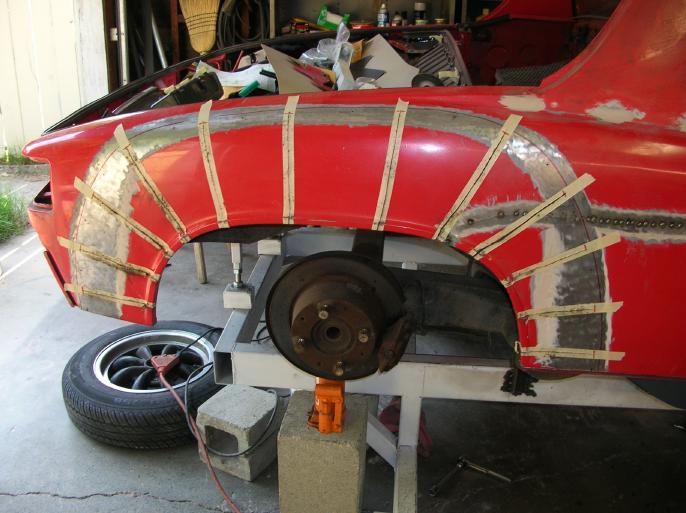
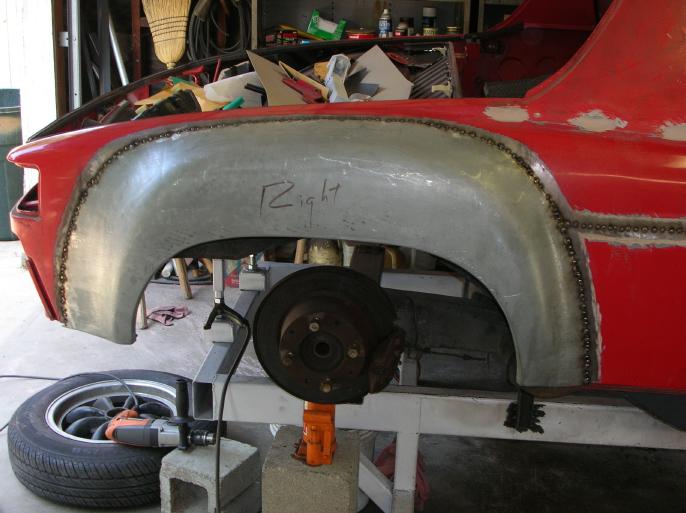
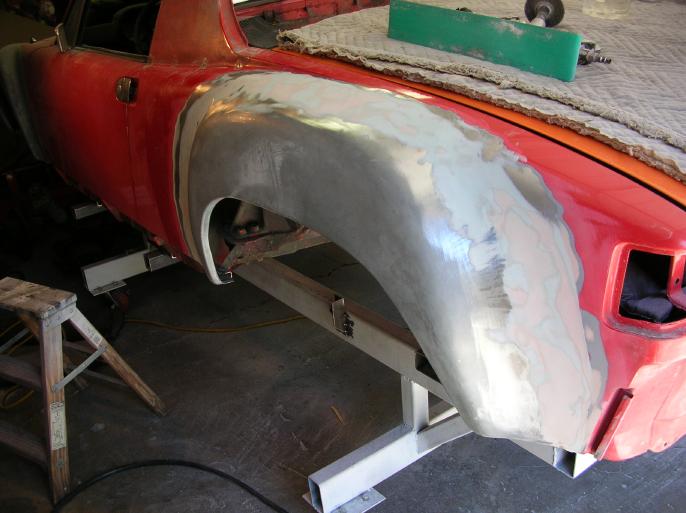
Here is a photo where I was about half way down the sides.
And another with the welding pretty much done.
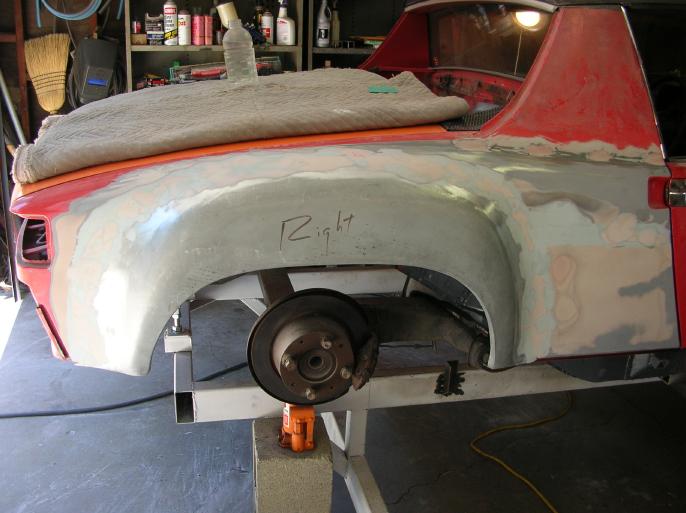
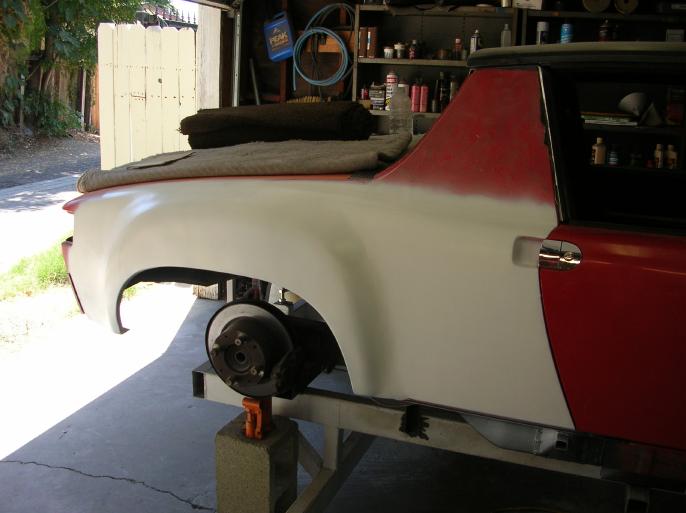
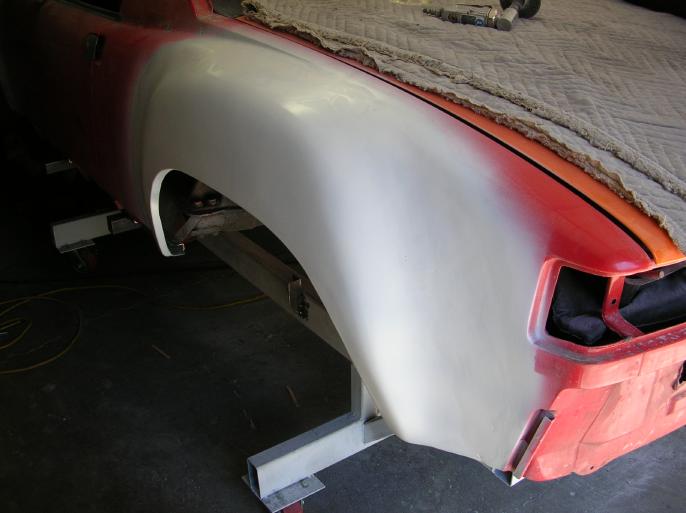
Here is the passenger side pretty much done and also with a (temporary) coat of DP primer (to prevent oil and water from getting to the steel).
Here is the drivers side.
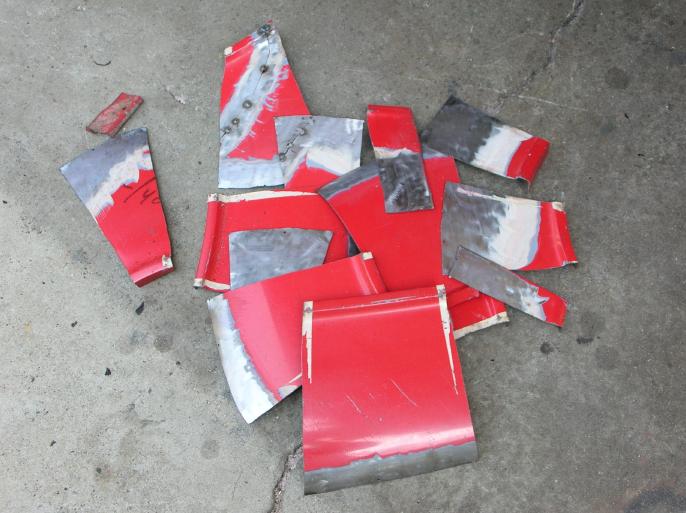
This is a fun photo showing the chunks of original fender that are cut out.
That's it for this page. Next up is addressing the bottom edges!!
go to the next "flare diary" page
go to the prior "flare diary" page
return to my "flare diary" entry page
return to my site's entry page
Wes Vann