My Flare Diary
(August 1, 2008)
(doing the Bondo work)
August 1, 2008; doing dent repair, bondo work, and priming;
The Bondo, metal shaping diatribe;
The concept that there shouldn't be any bondo used when doing body work just isn't reasonable for an individual that wants to do it himself or doesn't have the financial resources to have a professional metal shaper do it.
Now to make it clear, there are two terms that I have to define.
The first is a "metal shaper". This is an individual that can form an item from a flat sheet of steel and is also able to remove a dent from an item. If they don't know how to work an English wheel, they are not a metal shaper. He should be able to "shrink" as section of steel that has been stretched. A competent metal shaper will cost a lot, and they are worth it.
The second term is "bodyman". This is the individual you will find at a body shop that can make a car look like it wasn't in an accident.
The problem is that metal shaping is a learned art! Somebody that isn't experienced in doing it could make a panel worse!!!
So, knowing my limitations, I'm going to do a certain amount of shaping using bondo.
What's good about bondo;
It enables a person with limited abilities, to form an item or fill a low spot.
It hardens to a workable hardness quickly.
What's bad about bondo;
If you don't add enough hardener, it will never harden.
If you add too much hardener, it not only kicks before being applied well, but is brittle.
It's porous. This means that it will soak up water and oil. Given time, water can soak through it and rust the metal below!! (it's the paint or sealer that keeps this from being a problem)
It shrinks over time. This really has to be thought about. The thicker it is, the more that area will shrink. Think of this; A body shop does a quick repair and used a thick coat of bondo. They get it perfectly flat and paint it. You come by and the car looks great. After a month, you start to notice the dent starting to show up. That's due to the fact that the bondo continued to shrink after you took the car home. The answer is to let the bondo have time to shrink prior to doing any final work.
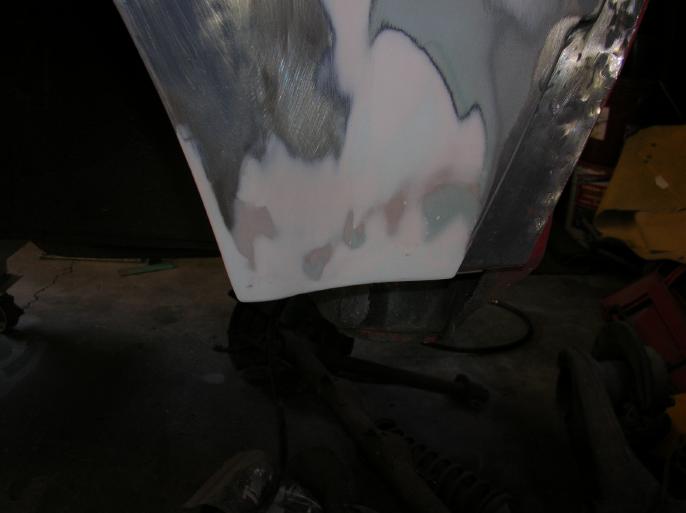
Pushing out that big honking dent;
Once again, it ends up that there was a big honking dent in the passenger side, rear fender;
I needed to push it out using a jack and that meant that I'd have to make up a bearing block to spread out the pushing force.
The edges are rounded off so that there wouldn't be any concentrated points.
Here is where I used the jack from my Mazda to push out the fender. There is a wood board between the jack and the inner frame rail.
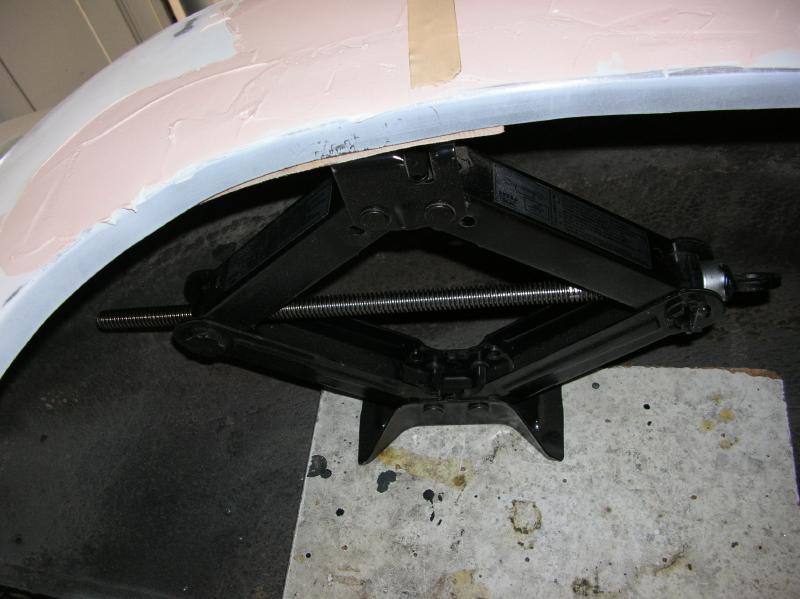
In order for this photo to make sense, you have to keep in mind it was shot from the floor looking upward. The jack is horizontal to the floor. (In reality, the photo was taken after the fact and that's why there is bondo on the fender surface!!)
After pushing it out, it just required a little hammer and dolly work.
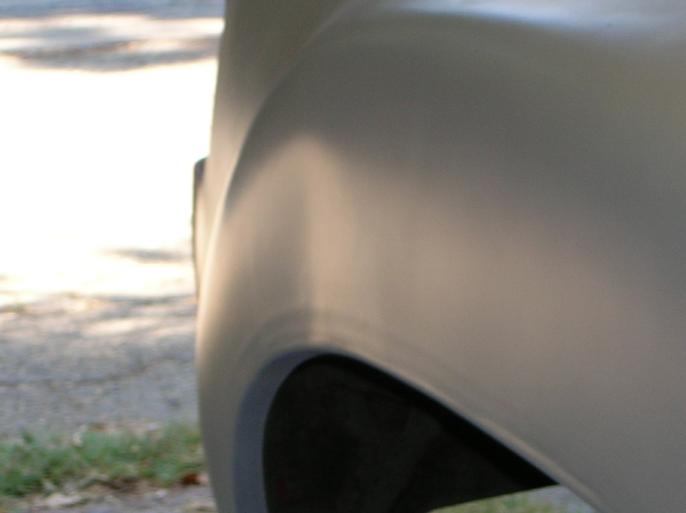
Here are the photos of the "shaped" bottom edges;
Here is the front bottom edge of the front passenger fender;
Here is the rear bottom edge of the front passenger fender;
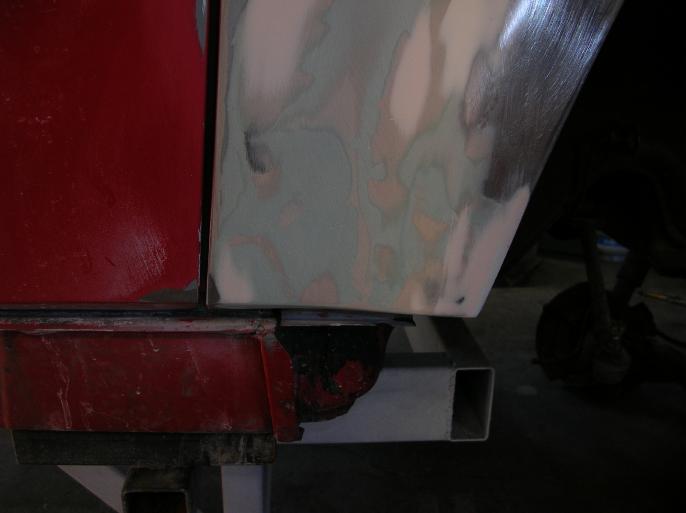
Here is the front bottom edge of the rear passenger fender;
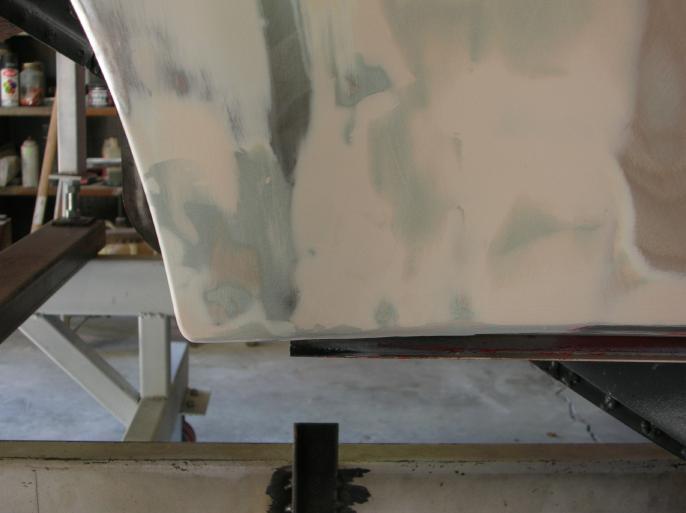
Here is the rear bottom edge of the rear passenger fender;
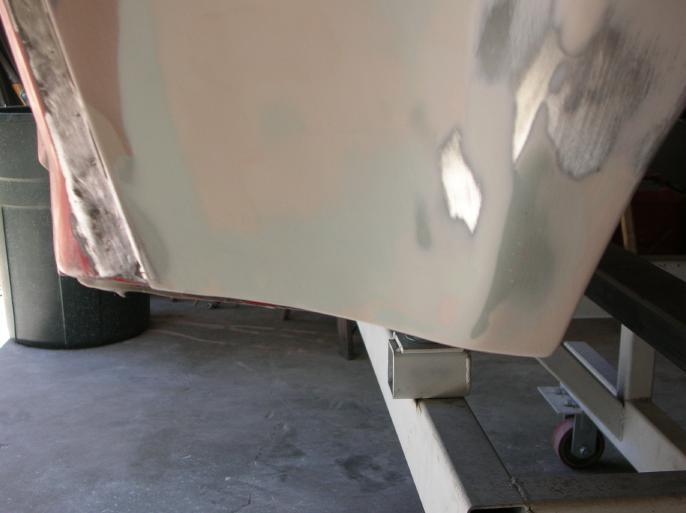
You should note that the bondo is in two different colors. The reason is that it enables me to see how stuff is built up. Think of contour lines on a map. All it takes is using different colors of hardener.
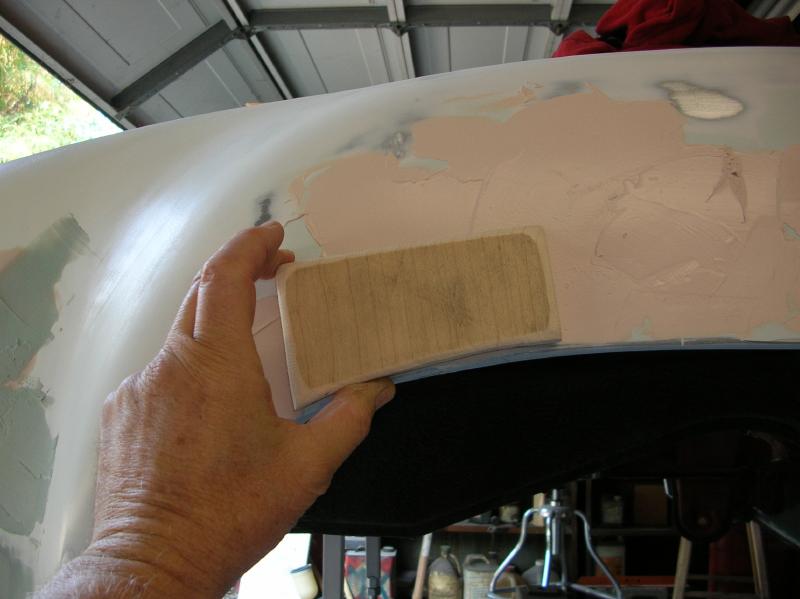
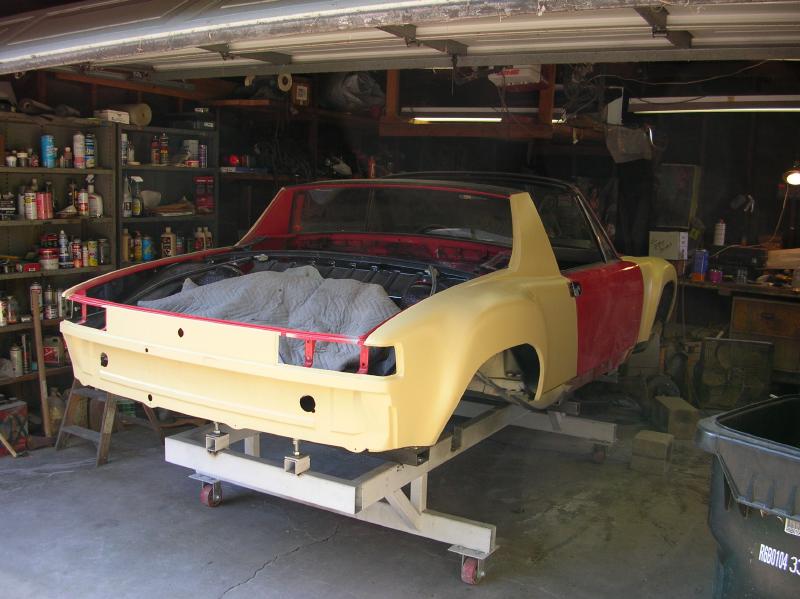
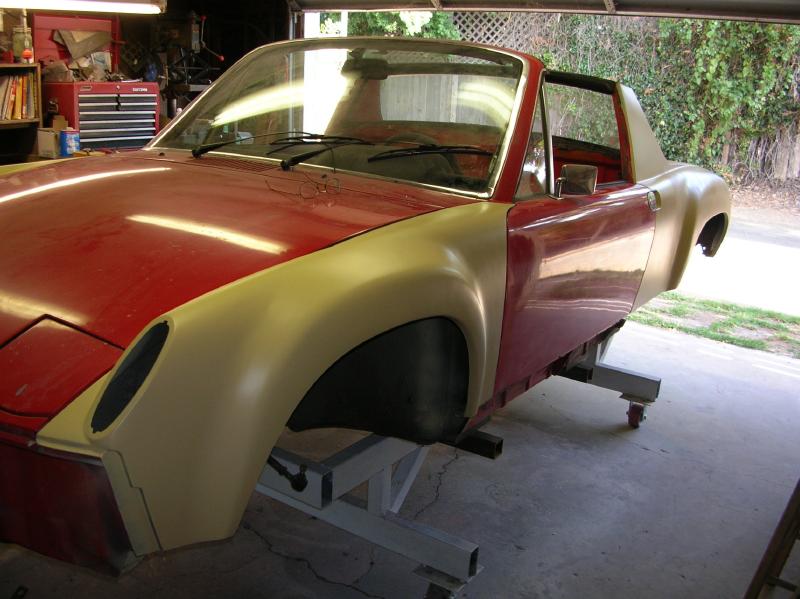
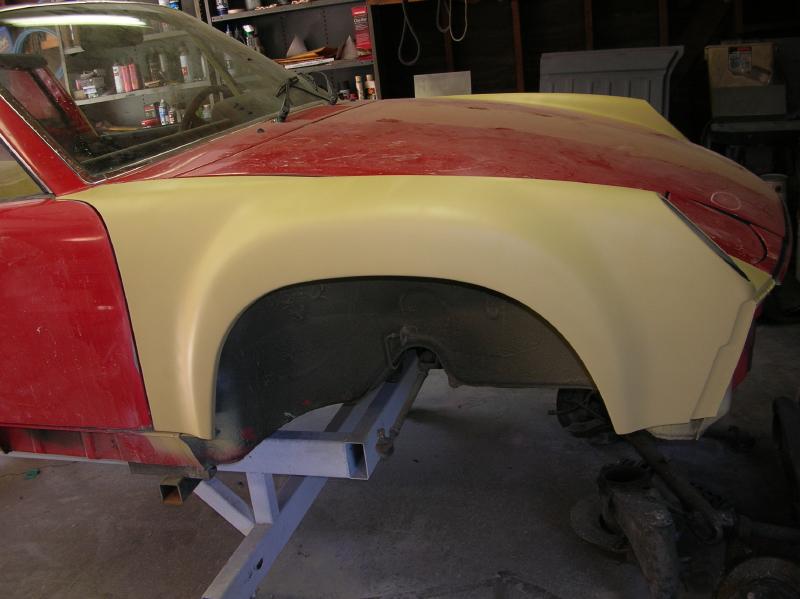
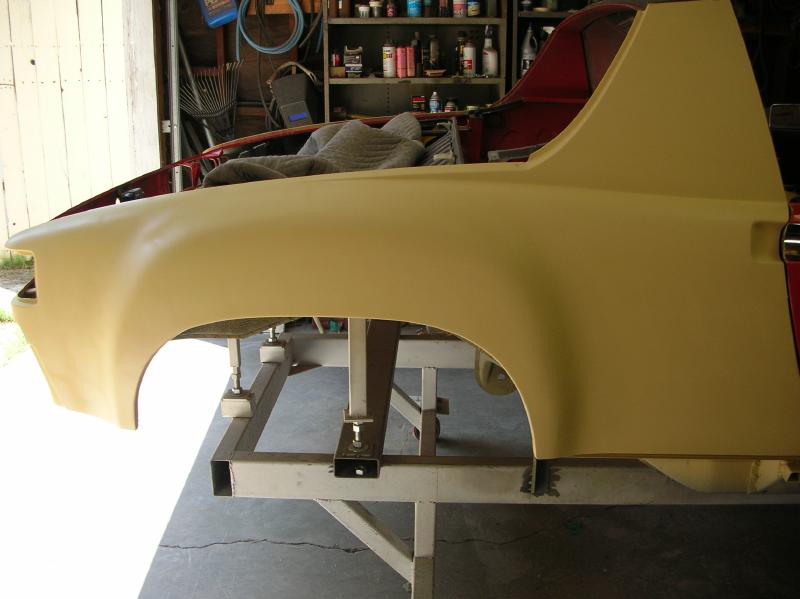
Final photos (for this phase of the work);
These photos were shot after priming the fenders with PPG K200 high fill primer. (this stuff is great, but no longer available) There are three coats, and lots of sanding. Before the K200, the fenders were sprayed with PPG "DP" primer / sealer. Once I've done final sanding on the K200, I'll re-seal it with DP, before going on to other work.
That's it for now. I'm off to do other work.
go to the prior "flare diary" page
return to my "flare diary" entry page
return to my site's entry page
Wes Vann