Installing an AEM cold air intake tube
Originally written; March 27, 2005
The why and what of this page;
This is just intended as a "quickie" showing the installation of an AEM cold air intake.
All photos are "click-able" to a larger version.
Options and why I did it the way I did;
I wanted to have a set-up that flowed better than the stock 89 air filter. I'm not really sure if it makes a horsepower difference or not!
I wanted it to be as smog legal as possible and technically it can't be done due to the engine swap (that has been through the referee process).
AEM does make a "hybrid" air intake for a 89 civic with ITR motor and that would have worked (I believe) but doesn't have a CARB certification. It has to be noted that this intake isn't configured for a GSR two stage intake, but the Skunk 2 intake I have is basically an ITR manifold.
So, what I did was order an intake for a stock 89 SI that has the CARB number (for the stock motor). If the police look at the intake, it has the sticker right on it and they would have to run a search on the number to see that it's not technically legal to the GSR motor.
I purchased the intake from Tom at Lightning Motorsports.
I didn't like the big "AEM" label that they stick on the air tube and removed it. I was REAL careful not to remove the CARB label!
Removing the stock air filter;
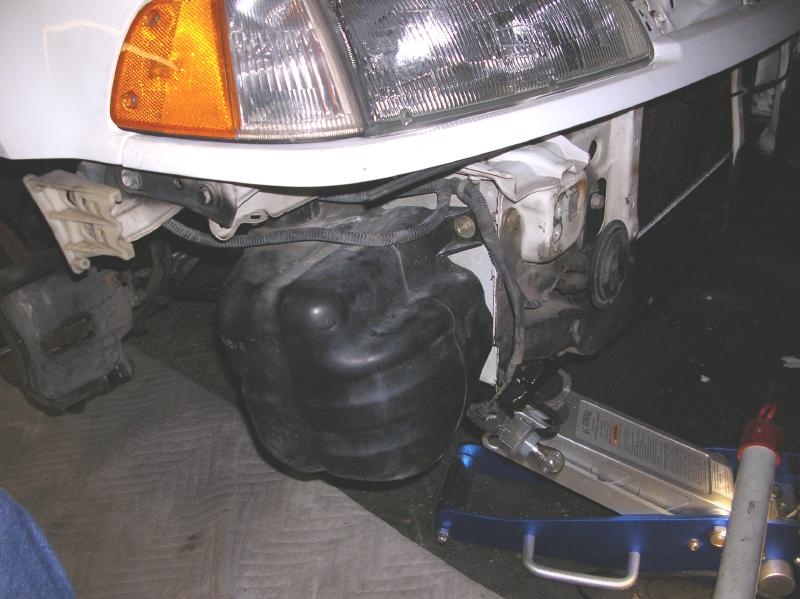
The only bitch with doing this install is removing the stock air resonator box. It's located behind and below where the passenger headlight is. See the big black plastic box in the following photo.
The reason this is a bitch is that you have to remove the bumper in order to get to all the bolts. (I've gotten pretty good at removing the bumper) To get the bumper off, you have to remove the inner fender and here is a little suggestion; go to the Honda dealer and buy a bunch of those stupid screw/clips. They don't cost much and you will go crazy trying to not mess up the original ones.
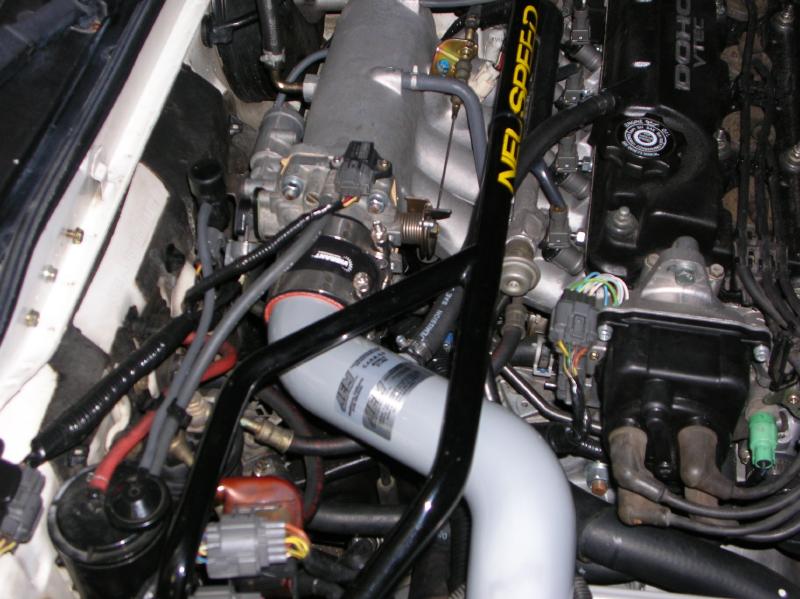
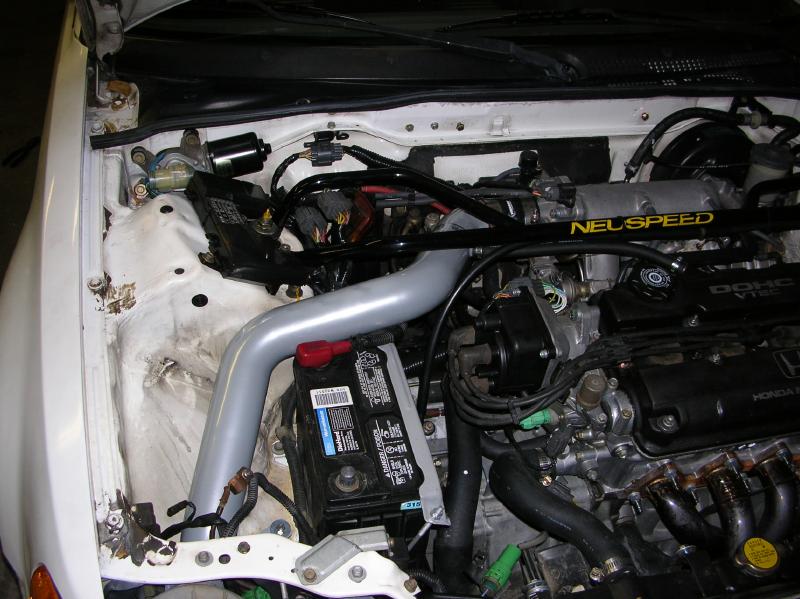
Installing the air tube is just per the instructions. I had to temporarily remove the strut cross-brace. Here are photos of the engine compartment.
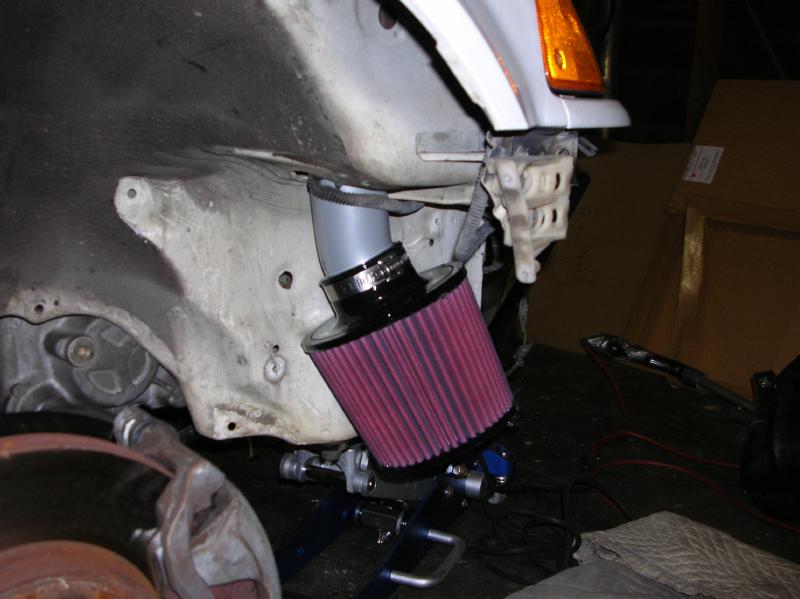
Here is a photo of the air filter, where the air resonator was.
Now for the problems and issues;
The AEM kit comes really complete for an installation where you have a stock engine (which is what I ordered).
There are some problems however due to my engine installation. The big one is that the silicon hose that hooks up to the throttle body doesn't fit. This isn't AEM's fault. The outside diameter of the B motor's throttle body is larger than that on the D motor. What I needed to do is order an 2 1/2 to 2 3/4 silicon adapter hose from GSCMotorsports.
I didn't like the look of the hose clamps that AEM provides for the throttle body hose and picked up "T-bolt" clamps. These are what you would normally use if you are under a pressurized system, as in running a turbo. Their usage was purely for looks! The poop is that due to the adapter hose being two different size diameters, you need two different size clamps. GSC only sells them in pairs of the same size and that means that you would have to by four to get the two you need. I picked them up at a local shop.
The rubber tube that AEM provided that goes from the valve cover and to the air tube didn't seem to be the correct size. Maybe the D motor uses a different size. Plus, it wasn't clearly marked as "for emissions". I picked up some 7/16" Gates hose that was marked. (here in California, that sort of shit can make or break passing it off as legal!!!)
Although the aluminum tube doesn't touch the body where it goes through the wheel well opening, it would be a good idea to add some kind of grommet.
Closing comments;
It's an easy install and looks pretty much legal.
I was real happy dealing with GSC Motorsports. What I needed was in stock and was sent out promptly. If I was doing turbo stuff, I'd go back to them!
As with all my dealing with Lightning Motorsports, it's always good dealing with Tom.
return to my site's entry page
Wes Vann