Rear Trailing Arm Bushings
Originally written; March 6, 2004
Update; May 15, 2004
Update; January 13, 2008
To start off;
A friend (Tyson) requested that I let people that the "SR3" bushing has been replaced with the new part number of 52385-S21-003.
He also requested that I make the service report available. Here is the link.
Parts availability and information on inter-changeability of stuff can change rapidly! It took only about three months for the information that was the main reason for this page existing to become non-relevant! The reason I'm saying this is so that you know to not take the information on any web site as gospel or up to date.
There were some errors in the original write-up due to a junk yard telling me the wrong source for the lower control arms that I bought!
Some of the stuff that I'll be putting down here are my personal opinions. When applicable, I'll try to comment on the opinions of others and state why I may or not agree with them.
When I give a manufacturers or suppliers name, it's not to degrade that group. It's only so that an individual knows what they are buying.
It has to be known that automotive design is a compromise. An individual that modifies a car changes that compromise to (hopefully) more fit his or her requirements. There is no configuration that will meet everybody's vision of the perfect car!
Most of the photos can be clicked to see a full screen version. Use your "back" button to return here.
This is not intended as a "how to" page!! I'm not an expert on what "interchanges", so please don't ask.
The photos shown are the result of my building an 89 Civic Si. Several years ago, I had a different 89 Civic Si and installed the Energy Suspension urethane bushings.
Although this work is fairly straight forward, I'd recommend that you get a factory manual. Look, I'll make it real easy and give you a link to their web address; Helminc.
Several years ago, you couldn't buy factory Honda Bushings without buying the compete lower arm. They are now available for select Hondas and Acuras from the dealer.
First off, the numbers listed are Honda numbers and I've had a local Honda dealer order and receive the items. I've had them in my hands, so I know that they exist. What can lead to problems is that the items in question are not referenced when looking through the normal path.
I know that the design of the small diameter bushing is different from what Honda originally installed. There are now two curved pieces of steel cast into the rubber.
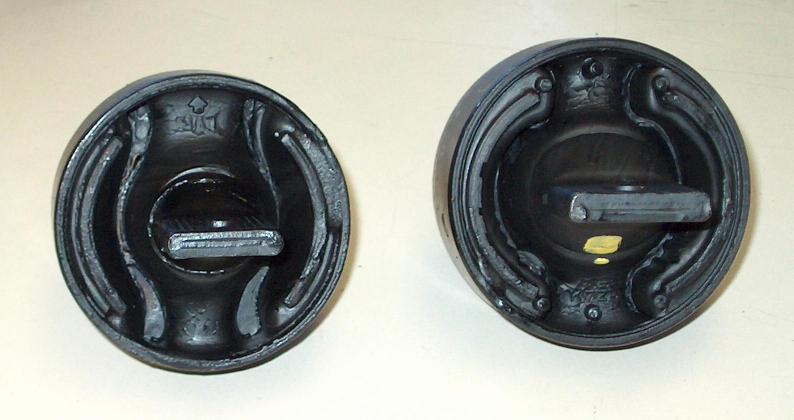
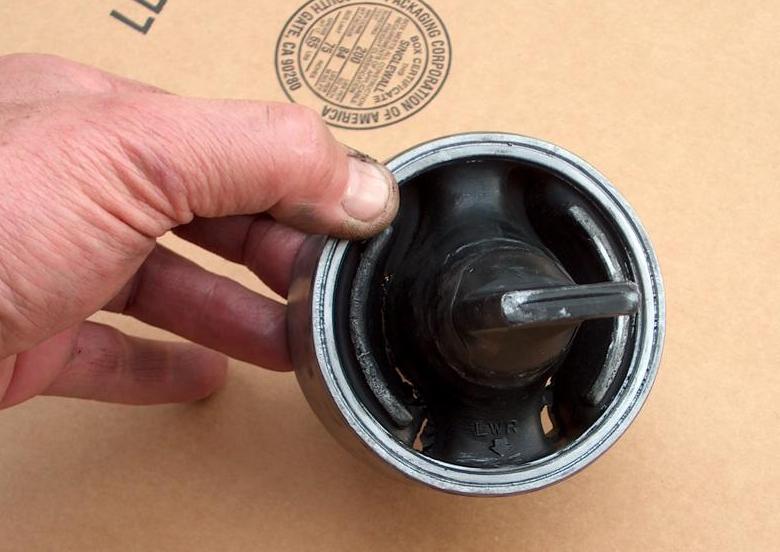
There are two different bushings and for clarity, I'm just going to call them the large diameter bushing and the small diameter bushing. I'm referring to the outside diameter of the metal shell. The reason for wording this is that I don't want (and can't!) get into listing exactly what will fit in what. I hope to give enough information so that you can figure that out for your self.
On the left is the small diameter bushing, on the right is the large diameter bushing. Although the difference is obvious in the photo, unless you have them side by side, I'd recommend that you don't jump to any conclusion as to which is which!
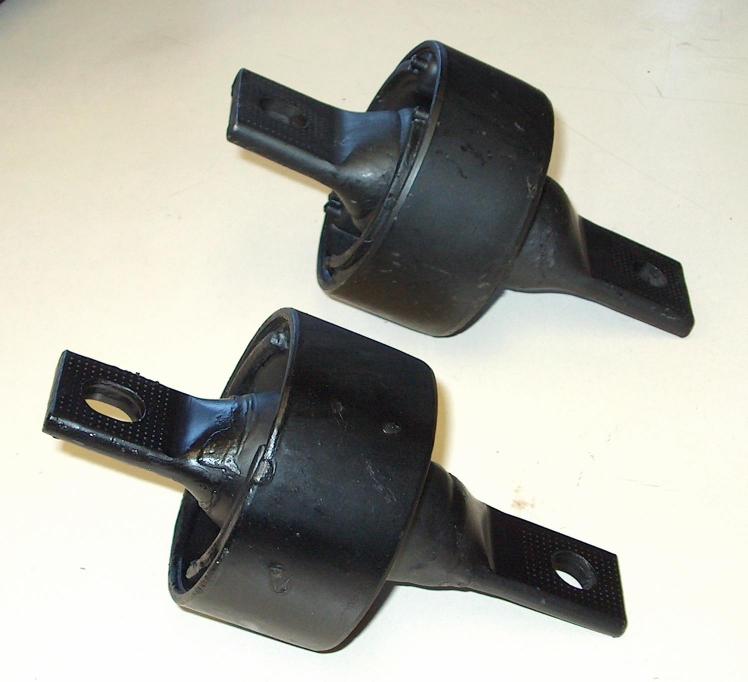
Lower in this photo is the large diameter bushing. The small diameter bushing is in the back-ground (above in the photo). In spite of how it may at first appear, the width of the outer shell on both bushings is the same. The bolt hole spacing is the same. The steel center piece on the large diameter bushing is larger in diameter and is of heavier gauge steel.
Now for the information that you need;
The small diameter bushing is part number 52385-SR3-000. It's outside diameter is 3.170 inches.
The large diameter bushing is part number 52385-SK7-N02. It's outside diameter is 3.352 inches.
So, here is the trick; I'm not going to say what fits what (and I have my reasons)!! Before you buy bushings, measure the old ones and order the correct ones.
Another thing worth commenting on is that both me and the parts counter guy flexed the bushings and it seems like the small diameter one is slightly stiffer.
The strength of the "original design" factory rubber bushings is marginal! (my opinion)
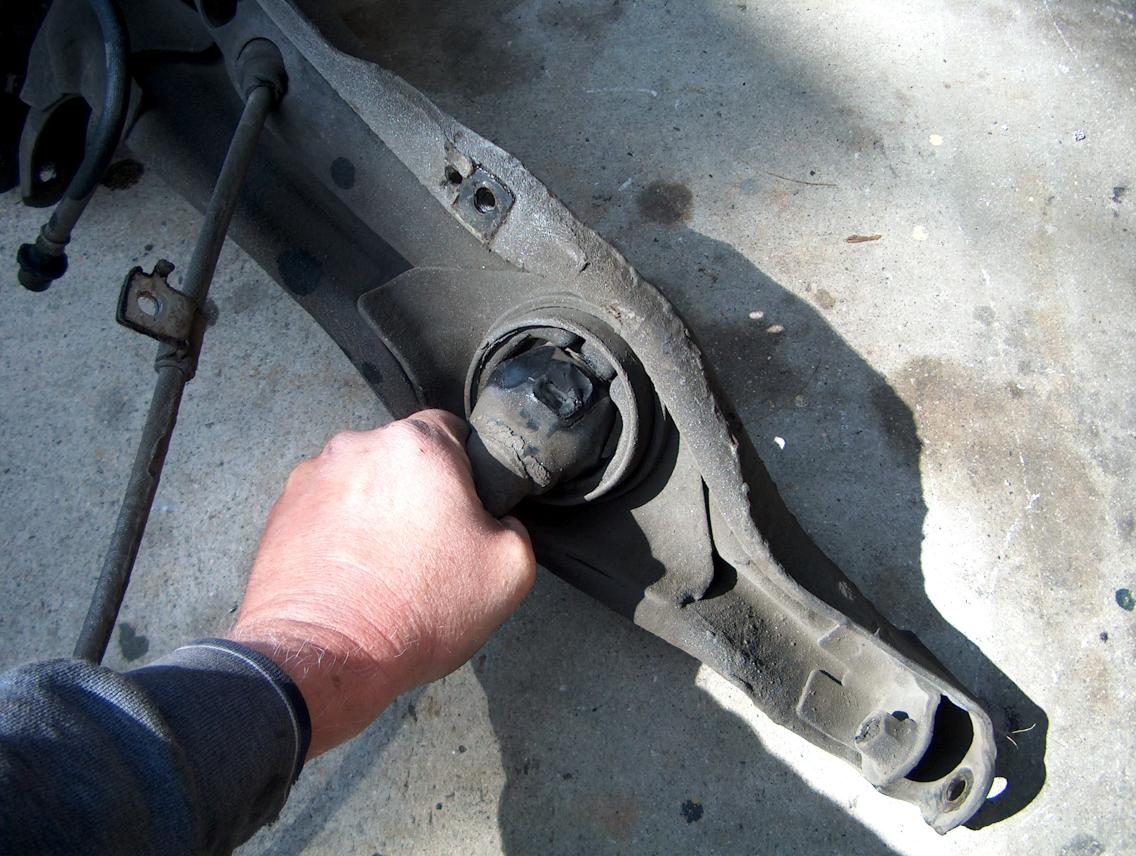
When I purchased my first 89, about two years ago, I brought it by a local repair shop that specializes in Hondas to have it checked out. It was a totally stock car and sat at the stock ride height. The prior owner had it very well serviced (and gave me a stack of invoices). The shop showed me where the bushings on both sides were totally trashed. They commented that it was common for Hondas of this vintage.
Still don't believe me?
The reason that the bushings are now available from Honda is that they realized the marginal nature and released Service Bulletin 00-006 (dated December 11, 2001) authorizing the replacement of damaged bushings. The bulletin goes so far as to state; "Any repair performed after warranty expiration may be eligible for goodwill consideration by the District Service Manager or your Zone Office". If your car is sitting at stock height, you should try getting the bushings replaced for free. Base your discussion on the fact that this is a "safety related" item.
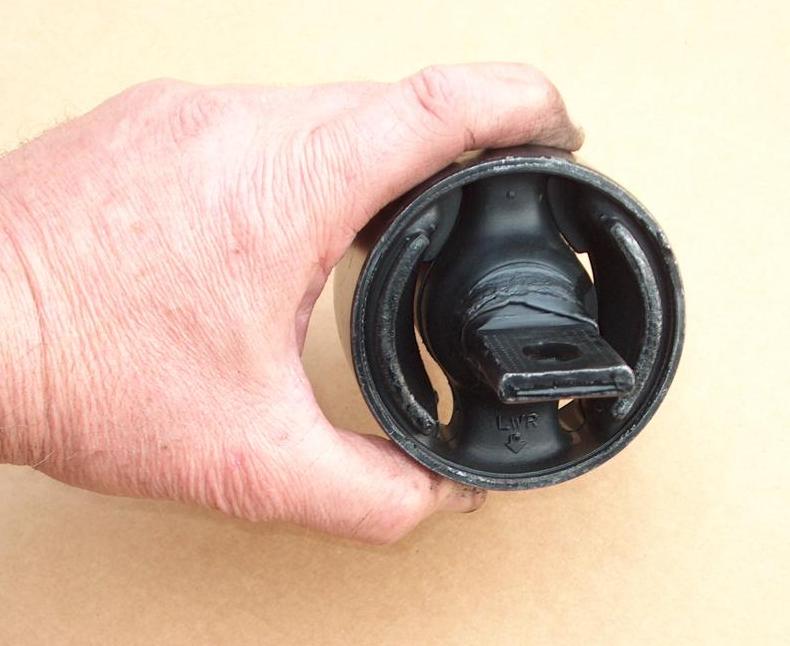
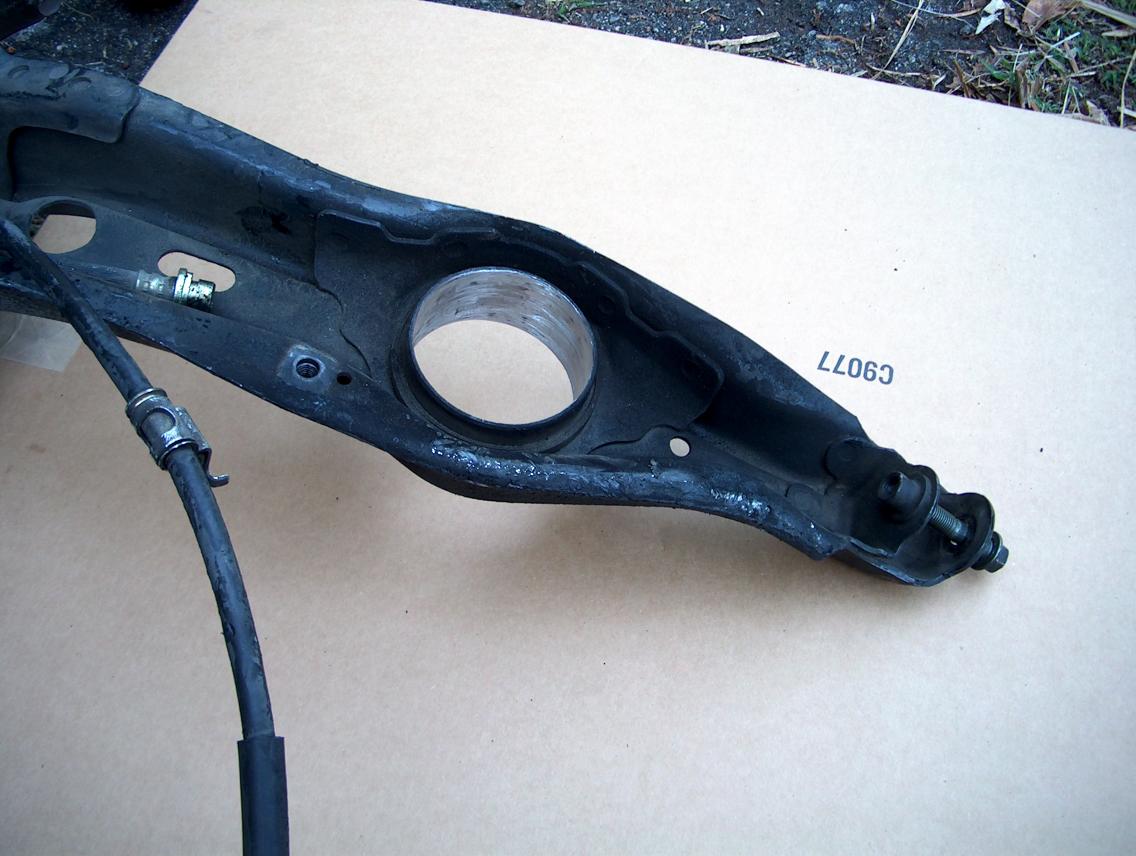
Here is a cool photo of me twisting out the center of the original bushing.
Everything from Mugen is "god-sent"; (the opinion of some others)
Mugen sells rubber bushings for the 4g Honda's.
I called the distributor and was told that they are 120 percent stiffer than the stock bushings. I ordered a set and when I got them went by the local Honda dealer to see how they compare to the stock bushings. In my opinion, there is no difference!! It's possible to twist the bushing along the axis of the rubber web, and they both feel the same. Keep in mind that the distributor is saying that it's more than twice as stiff.
I then called the distributor again to discuss it. I was told that the bushings were molded with a higher durometer rubber and were indeed stiffer. When I asked if they had ever had one of the available bushings from Honda for comparison, they admitted that they had only seen used bushings that were still in the arm (after 14 years of duty cycles). The also admitted that they didn't know that Honda now sells them (independent of the arm).
I asked both the importer and a major distributor if they could go by a Honda dealer and check out the Honda bushings, and then get back with me. The importer told me I'd have to talk to the distributor (in spite of the fact that he was the individual that quoted the 120 percent number). I don't expect to ever hear back from the distributor.
Now in their defense, it's possible that when Honda realized that the original design was marginal, they followed Mugen and started molding them with a stiffer rubber.
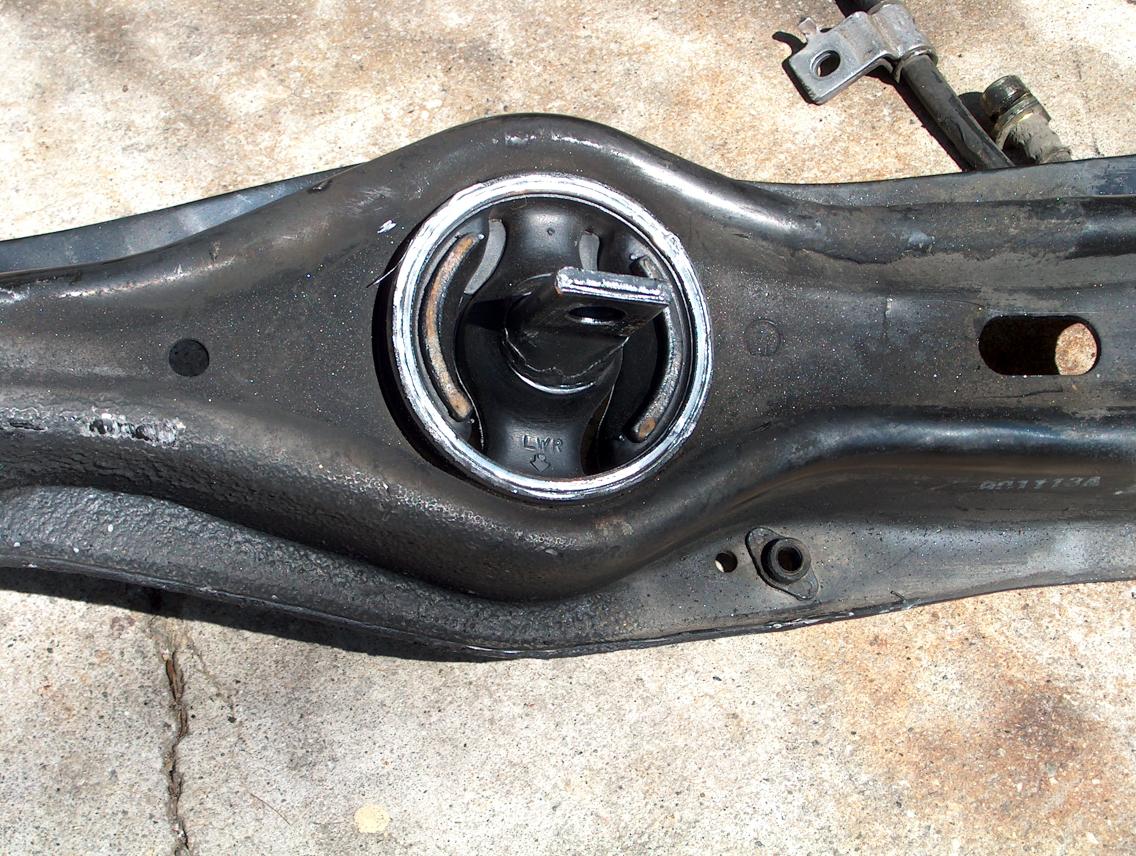
Here is a photo of the "Mugen" bushing (same thing as what the Honda dealer has in stock).
Urethane bushings bind; (another opinion of others)
Most people don't think about the total motion that a suspension has to move through!
The rear trailing arm moves in other directions in addition to rotating around the centerline axis of the bushing. Due to the upper and lower control arms (that are mounted inboard of the trailing arm), the wheel actually moves in and out (away from the body). Due to the fact that the arms are different in length, the camber changes as the wheel moves up and down. This motion causes the trailing arm to rotate, as viewed from the rear of the car.
So, do they bind due to this motion?
My opinion is that although urethane is rather stiff, it is compliant enough to handle it.
Then there is the subject of "plung". This where the arm wants to move along the center axis of the pivot. The urethane bushings do not limit this motion (as they shouldn't). This is obvious in that you have to slide the pivot shaft into the bushing after pressing it into the arm.
Urethane bushings squeak;
I never observed squeaking on the first Honda that I installed Energy Suspension bushings on. But it is a reality that should be faced.
The best solution is to just add zerk fittings so that you can re-lube them. Most people don't think about the total motion that a suspension has to move through!
How about bushings for 90/93 Integra arms;
This part of the page isn't really valid anymore due to the fact that Honda is now selling "large diameter" bushings. I've decided to keep it in case anybody believes that the Mugen bushings are stiffer and want to save some money by not buying the "shims" that they provide. If I had it to do over, I'd just buy the ones currently available from Honda!
I got involved with this due to wanting to add rear disk brakes. The arms and brakes are a direct bolt up to the fourth generation Civics.
The problem (as far as when this page was first written) is that the outside diameter of the bushing used on the Integra arm is larger and Honda (Acura) does not sell them!
Mugen doesn't have an exact replacement. The solution that the importer for Mugen has is to provide a "shim" collar to get their Civic bushing to work. That's a valid solution, but they want $100 bucks for a pair of collars (one for each side).
Well, guess what, there is an easy solution. What I did was use the Integra bushing outer shell as a "shim" for the Honda bushing.
There are two ways that you can do this (I did both) but in both methods, you have to burn out the rubber on the Integra bushing and then sand out all the remaining rubber. I used a round sanding drum on a Dremel.
In the first method, you remove the complete Integra bushing from the arm. Burn out the rubber and sand the inside clean. Sand off the paint from the new Honda (Mugen) bushing. Coat the outside of the new bushing and (using a press), press it into the Integra shell. Then you press that assembly back into the arm.
In the second method, you keep the Integra outer shell in the arm. Start with burning out the rubber and sand the inside clean. Sand off the paint from the new Honda bushing. Coat the outside of the new bushing and press it into the Integra shell. What could be a problem with this method is that the Integra shell could move from it's original position if there is too much friction between it and the new bushing. In that case, you would pop it all the way out and go to the first method.
In this photo, the Integra arm with the original bushing outer shell intact, is ready to have the Honda bushing pressed in. (click on it to see a bigger version)
And here is the finished, installed bushing.
Installing bushings;
As I stated at the top of this page, this is not a "how-to" page! What I want to do is to just give hints and tips.
While the car is sitting on the ground, take a straight edge and hold it up against the bushing flange where it bolts to the body. You want to see where it points along the arm. On a car that sits at stock height, the straight edge will pretty much point down the centerline of the arm. On a lowered car, the straight edge points to a lower point on the arm. When you install the new rubber bushing, you should have it rotated so that the straight edge points in the same direction as when it was installed in the car. If you don't, you have a constant pre-load twist on the bushing and that can lead to early breakage. See the photos below.
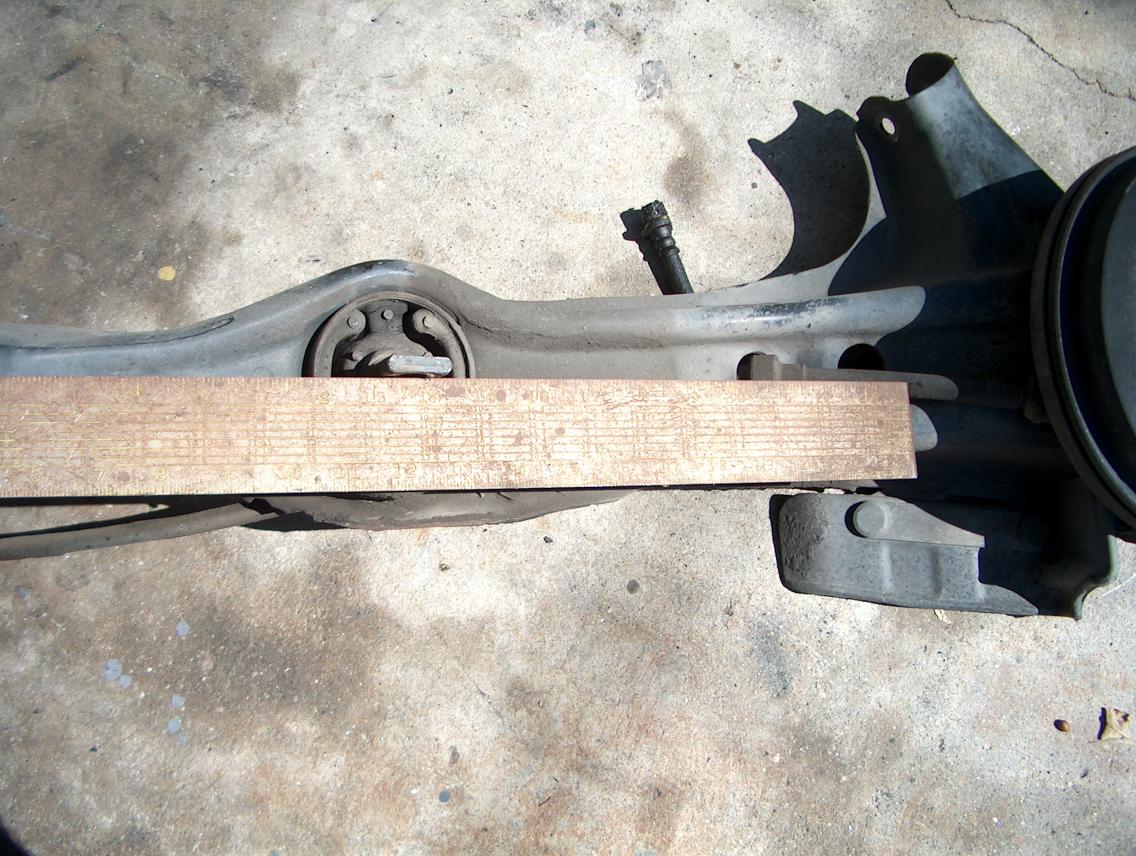
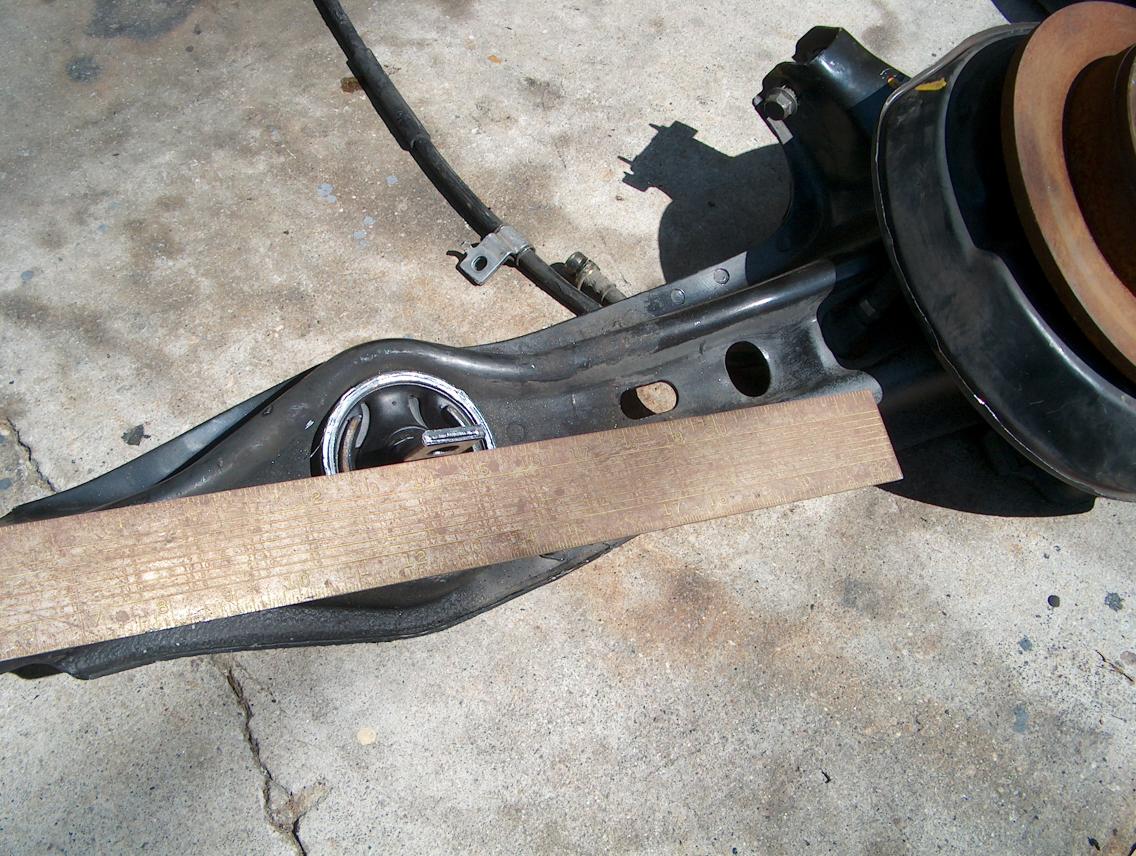
The photo on the left shows the correct (original) orientation if the car sat at stock height. The photo on the right shows the orientation if the car is lowered.
You have to remove the arms in order to replace the bushings. The instructions that are included with the Energy Suspension bushings says that it's possible to install their bushings while still partially attached to the car, but I think they are crazy.
You will need a press, or plan on taking the arms to a shop to have the work done. A friend of mine has hammered out old bushings and then hammered in the new ones, but I think he is crazy!
Closing comments;
I hope that you knew to use jack stands!!!
If you don't have a 10mm flare nut wrench to disconnect the brake line, buy one!
If you have any problem with bleeding brakes, have somebody help you. In the worst case, take it to a shop. (although I normally want to do all my own work, I don't consider this a "cop-out" due to a good shop having a pressure bleeder)
Any time that you do anything with the brakes, you should keep an eye on the brake fluid for at least a week. If it drops any, find out why before driving anywhere.
return to my site's entry page
Wes Vann