Re-skinning the Roof
(or how to get rid of a sun-roof you don't want)
Originally written; April 1, 2005
Updated; April 10, 2005
The why and what of this page;
I wanted to get rid of the sun-roof. There isn't a justification that I can give to others. The fact of the matter is that it's my car and I'll do what I want to it! (so there!) Think about this; if you could "order" the civic of your dreams, would you check off the box for a sun-roof?
This isn't an easy project and I'd recommend that anybody that thinks about doing it should think about it a lot!!
If you wanted to add a sun-roof, there are a lot of little items that would have to be addressed in addition to just welding in the roof skin. There are attachment points for the sun-roof assembly along the front cross-brace and also several along the sides of the body (hidden by the headliner). All of those could be added but you would have to source the side brackets from a junk yard. What would also have to be addressed is the routing of the drain lines. There are a total of four and the two that run down the windshield posts would be a major bitch to add. In other words, I wouldn't do it!!
Doing a CRX is very similar and if you want to read a string on Honda-Tech about a guy named Louie who did it, here is a link. If you want to look at all of his photos, here is the link.
Buy the factory manual (Helm's manual)! You will need it in order to pull out the interior. You should also buy the factory "body" manual.
All photos on this page are "click-able" to a larger version.
Things you should know and why I did it the way I did;
Most modern car bodies are spot welded together by machines (robots). When spot welding, a machine clamps the two or more pieces together and a high amperage current is driven through it. The tips of the spot welder are normally about 1/4" in diameter. If you look at the resulting weld, there is an impression the size of the welders tips (that 1/4" diameter).
Removing spot welds isn't easy and unless you do it for a living, plan on destroying one of the items being removed. In other words, I destroyed the original sun-roof skin I was removing. I also destroyed the other parts off of the roof assembly that I purchased from a junk yard.
In order to remove the spot welds, I used two methods.
On some, I found it easiest to just use my Mikita grinder with 4" cut-off wheel to just grind off the outer layer in the area of the weld. The trick is knowing how much to grind down.
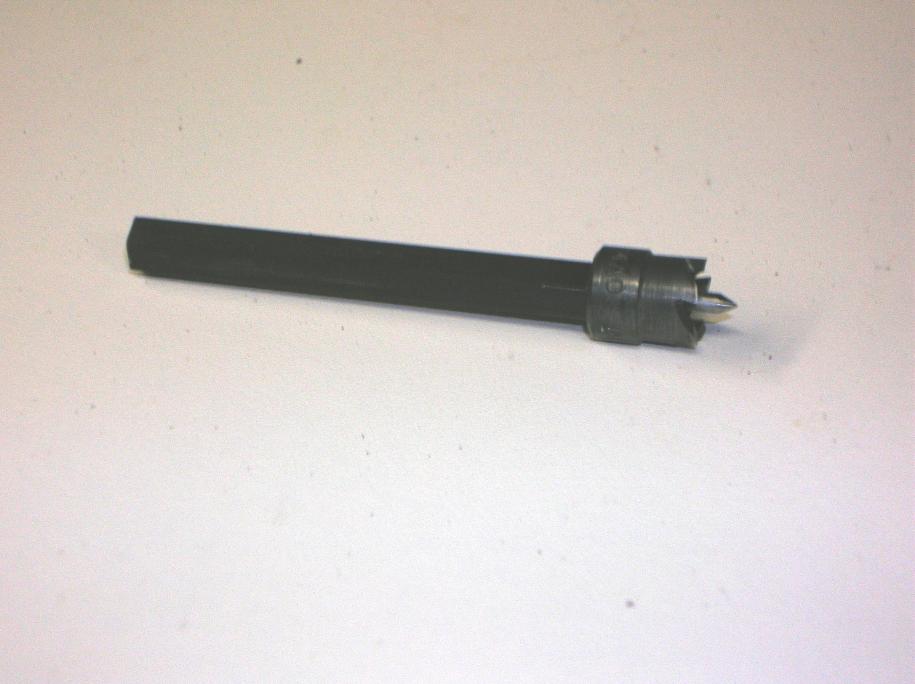
In other locations (like along the drip rail) it's easier to use a rotary broach. Here is a photo of the Blair broach that I used and an example of what it does to a spot weld.
The center pin shown is spring loaded and as you push down, it goes into the shank. You first drill a pilot hole (or divot) for the center pin and then just go at it and grind down the outer layer. As with using the grinder, the trick is to only remove the outer layer.
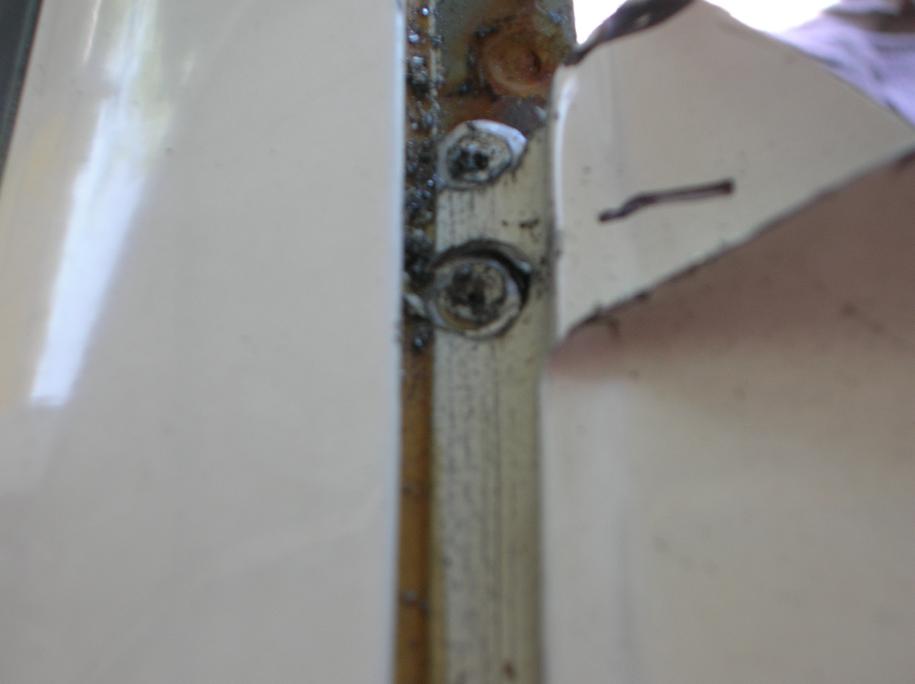
On most import cars, there is a weather-strip (or some times called a drip rail) that runs down the edge of the roof, from front to back. In reality, this plastic piece isn't a weather-strip but something used to hide where the roof skin is welded to the rest of the body. It isn't required to seal out water, there is a sealant below it. It's just to hide the ugly mess beneath it!
Pay to have the windshield removed! Plan on it getting broken and have the shop that removes the old one include part of the price in the purchase and installation of a new one.
The factory body manual shows that if a body shop is going to replace a damaged roof, the whole thing from one side of the car to the other should be removed. This means that all of the cross-braces are removed. If you buy a new roof from the dealer, it comes as an assembly with all the cross-braces attached. This is the method that Louie did on his CRX (see link at the top).
I did it differently in that I retained the front and rear cross-braces. The reason is that it helps keep everything aligned and prevents the two sides from moving inward or outward. Another reason for keeping the rear brace is that it's the attachment point for the rear hatch and by keeping it, the hatch should re-attach without any alignment problems.
Stripping down the roof skin that I plan on using;
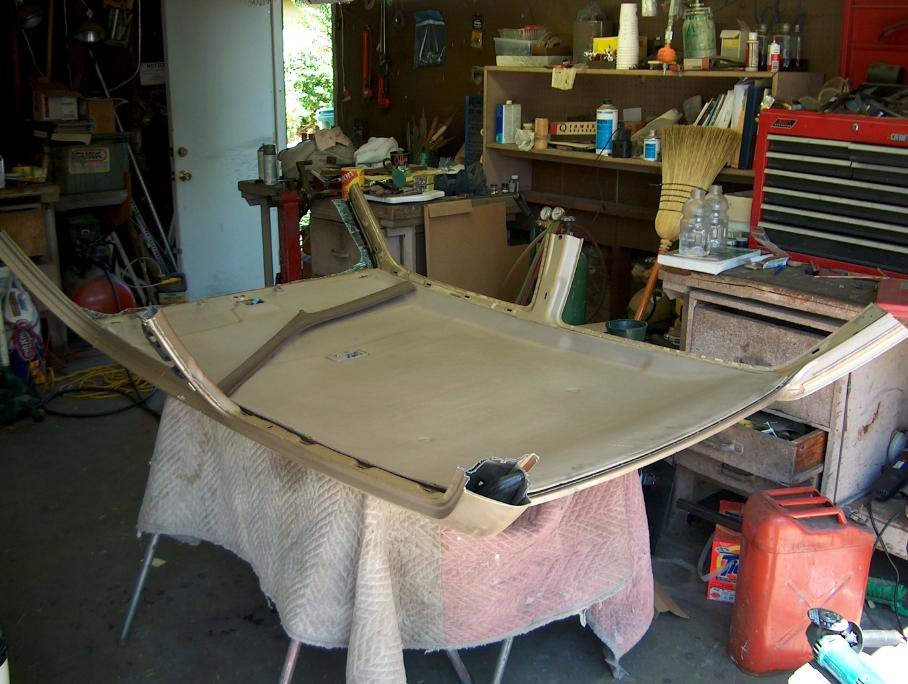
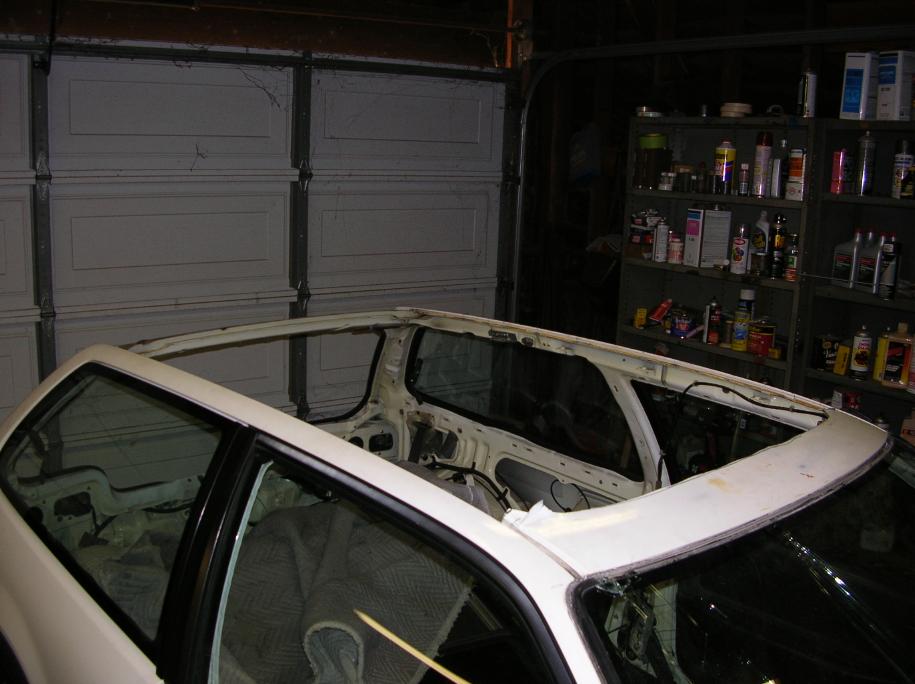
I got a replacement roof from a junk yard. When you do this, they normally just cut it off at the door and window posts. The following photo shows it as I got it, complete with the head-liner.
Here I've removed the sides by grinding off the spot welds.
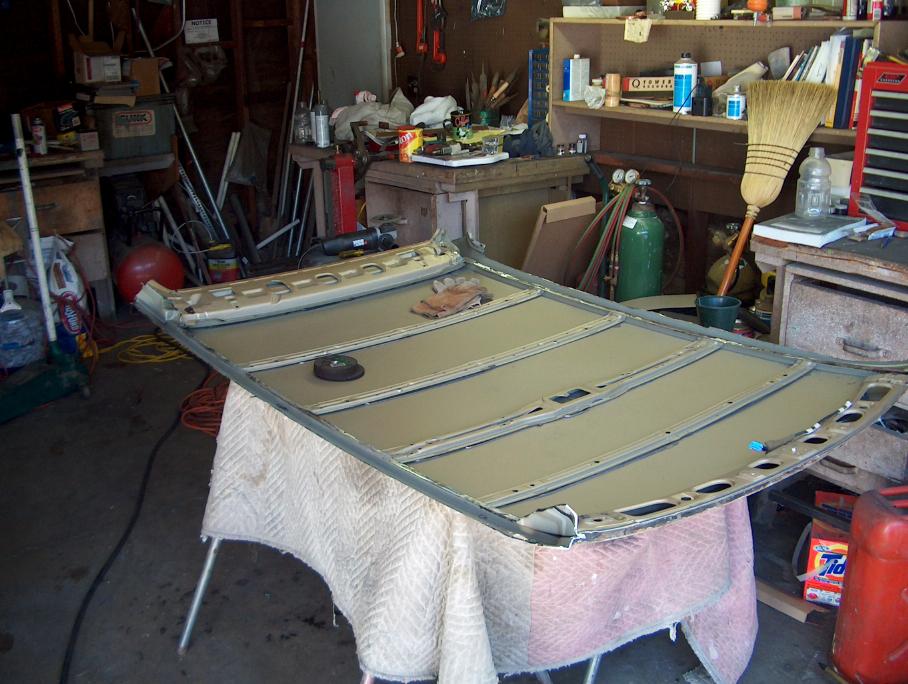
And here, I've removed the front and rear cross-braces, leaving the center 5 ones.
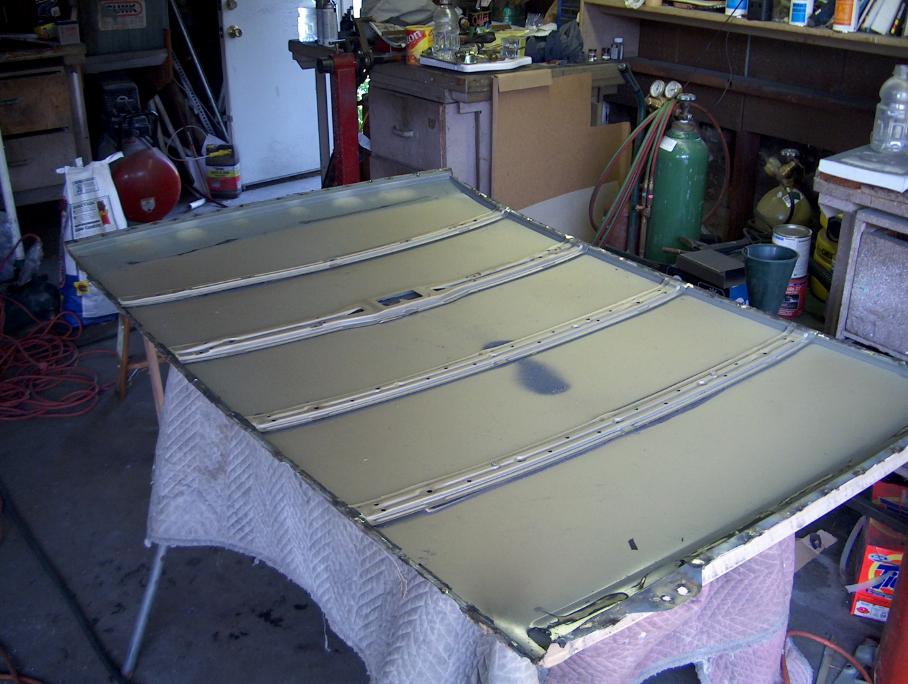
Now all I have to do is get the old roof out.
Removing the sun-roof skin;
First off, I had to remove pretty much all of the interior. (follow the factory manual that I know you bought) Then I removed the headliner and un-bolted the sun-roof assembly.
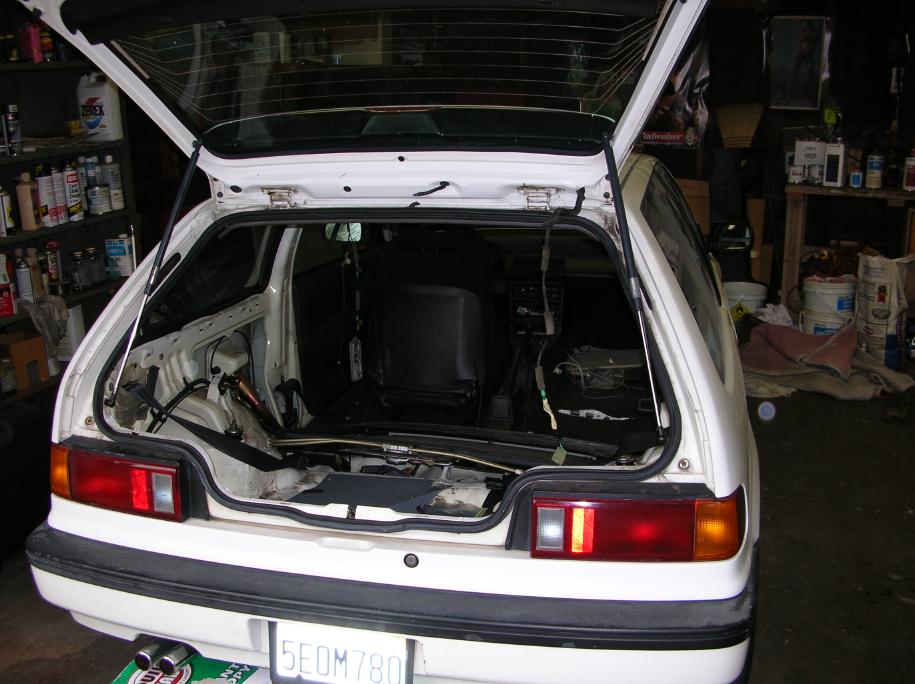
I unbolted the rear hatch by un-doing the nuts that are hidden by the headliner. In other words, I kept the hinges attached to the hatch so that it would be easier to re-install and align. Next came the saws-all.
At this point, I had removed the spot welds the sides and rear sections of the roof skin have been removed. I tried to remove the windshield (I've done it in the past on other cars) and made a mess of it. I paid to have a glass shop guy come out and remove it.
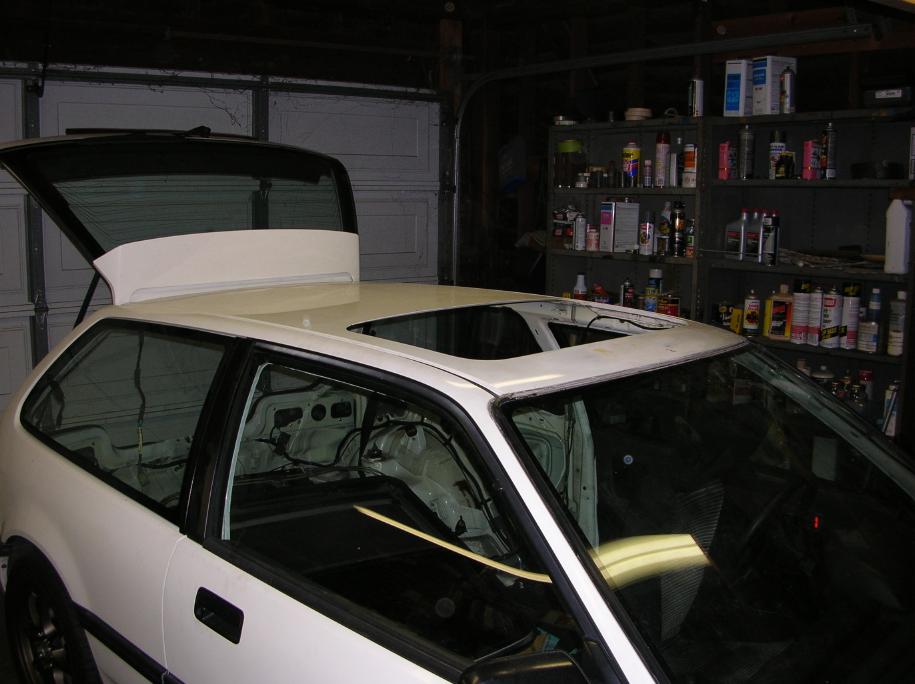
Here you can see the whole roof skin removed. Notice that the front and rear cross-braces are still in place.
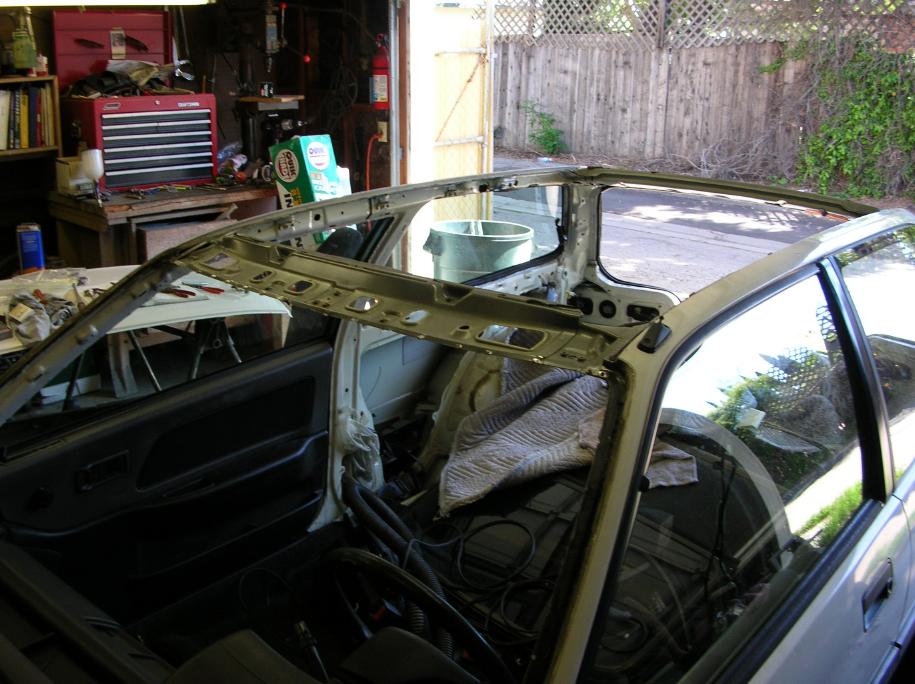
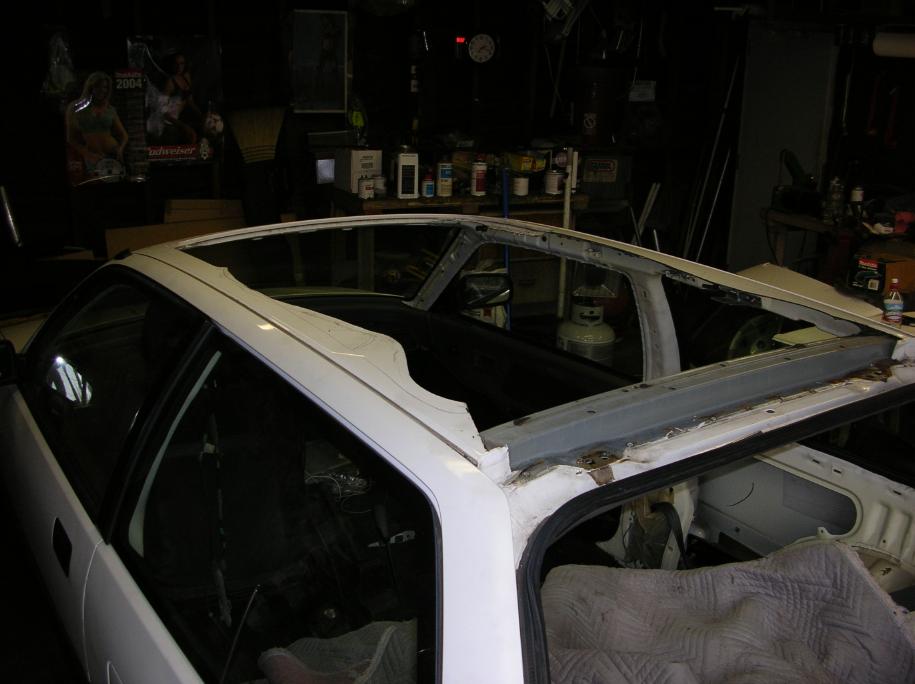
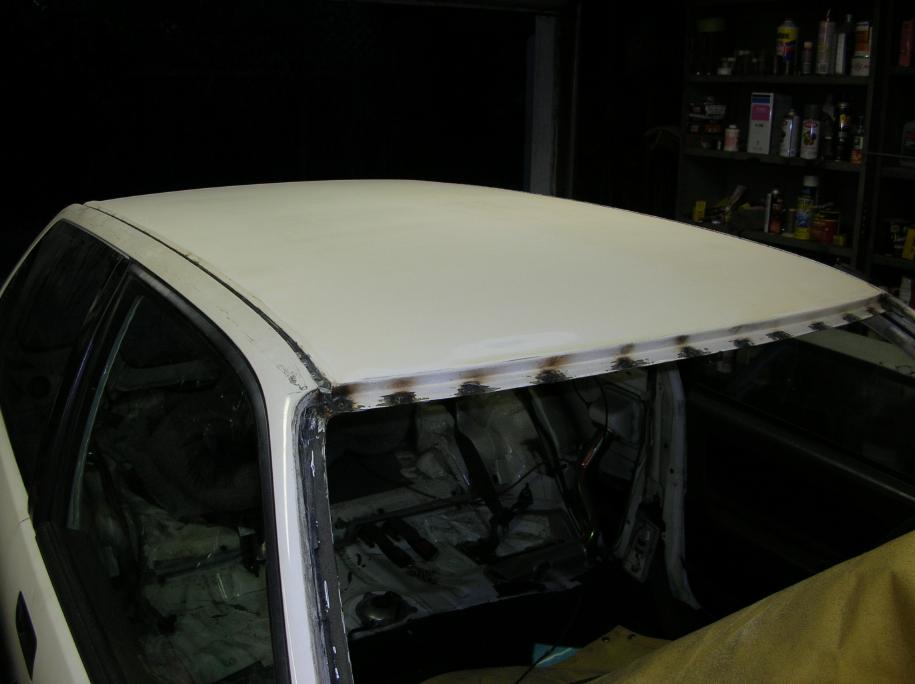
This next photo shows the replacement skin in place. It's not welded in place yet.

Now all I have to do is weld it in place.
Welding in the new skin;
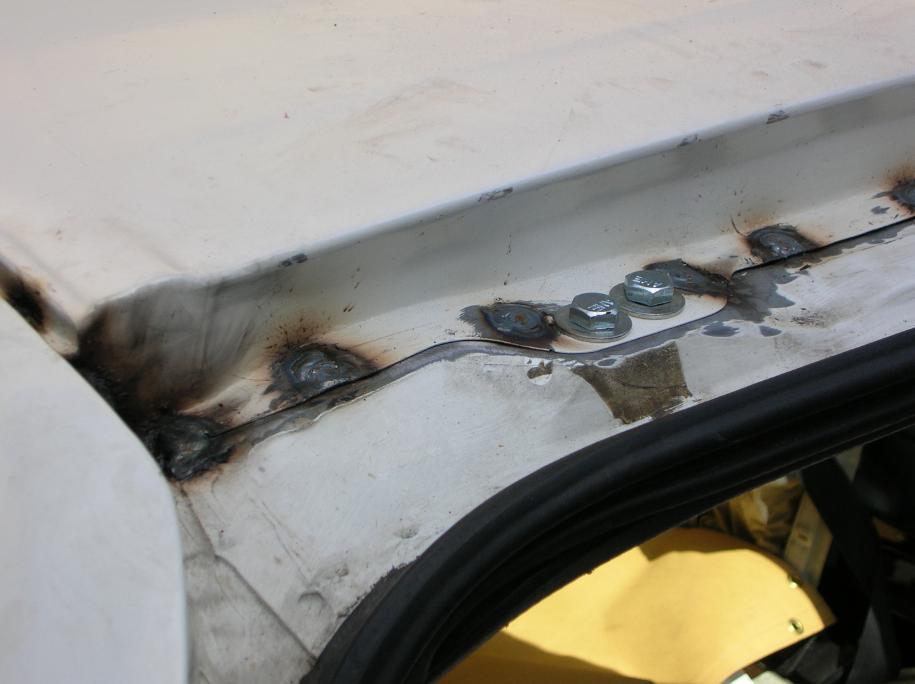
I don't have a spot welder and what I've got to do is "rosette" weld the roof where the spot welds would normally be. When doing what is called a rosette weld, what you do is drill a hole and then pretty much fill the hole with weld (welding around the perimeter of the hole).
Here are two photos showing the holes around the perimeter of the roof skin.
Next is the actual welding.
This is my friend Don getting ready to do the welding (old guys building a Honda).
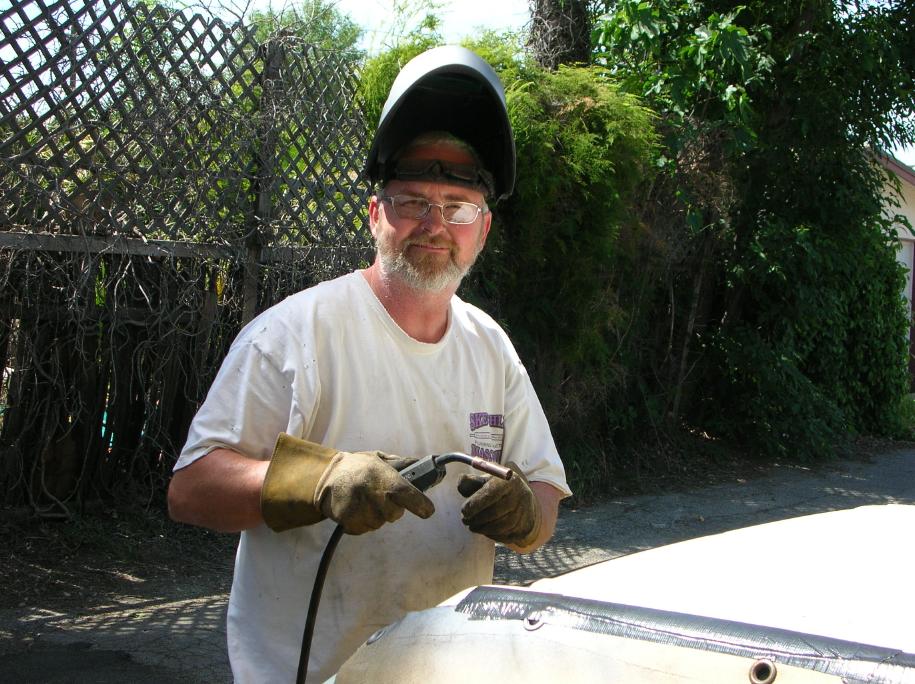
And here is the result;
Next is to grind down the welds flush and use seam sealer.
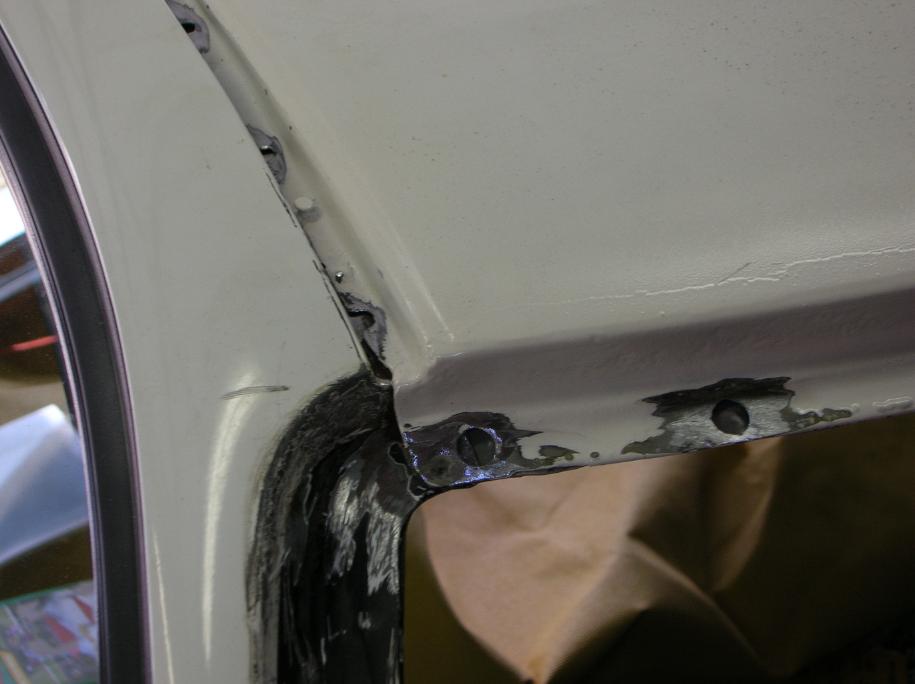
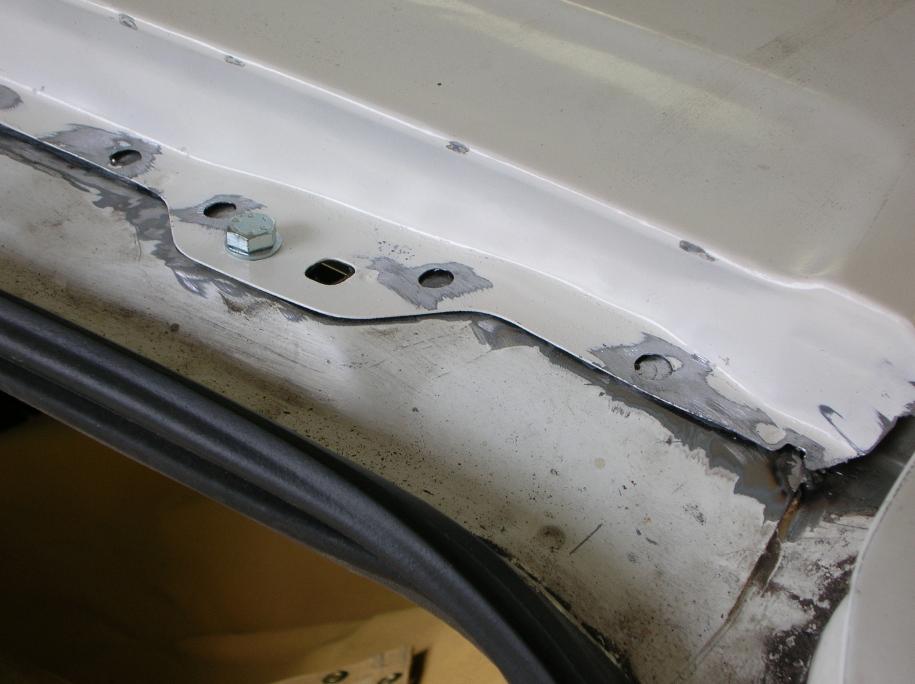
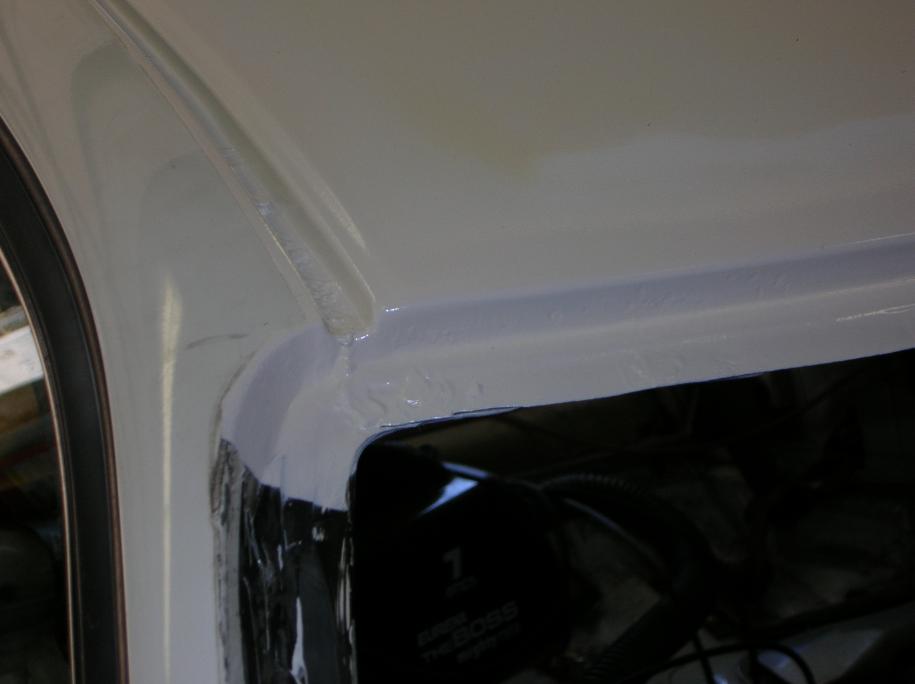
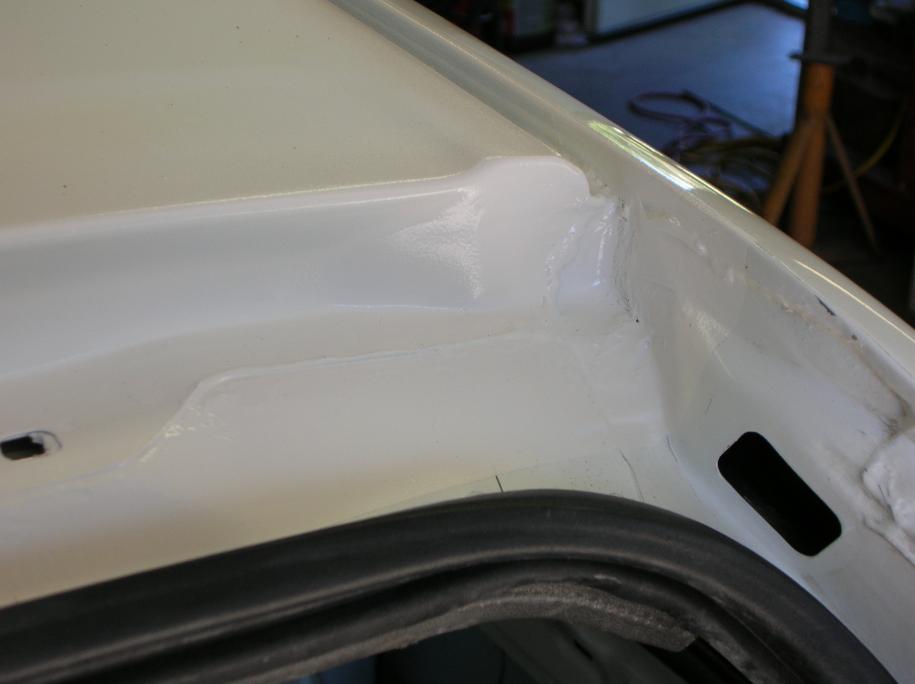
Here are photos showing the welds ground down and seam sealer applied;
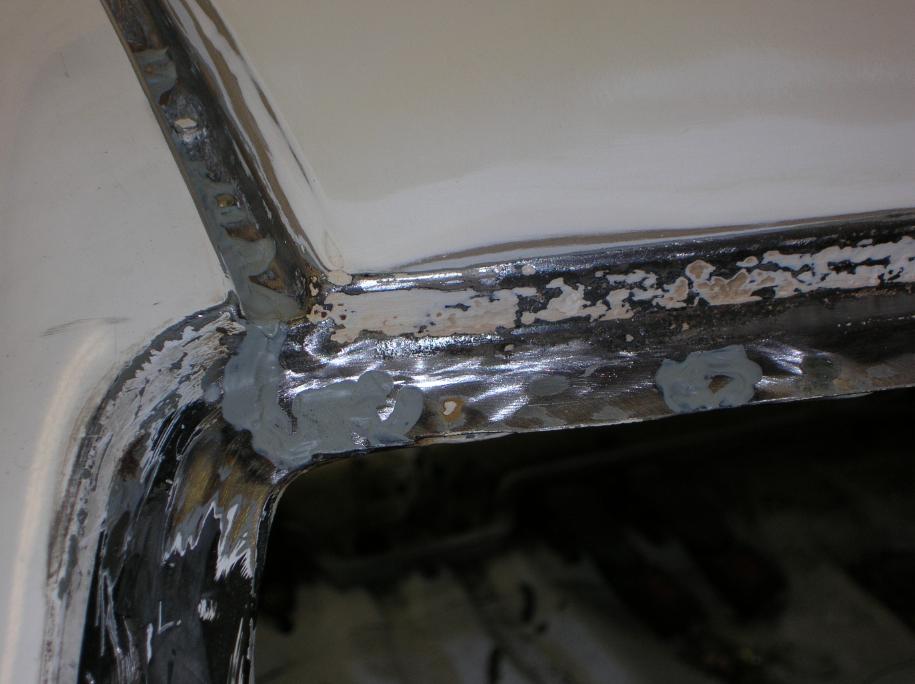

On the photo on the left, you should note the pock marks on the new roof skin. This was due to some surface rust and prior to doing the install it was treated with SEM "Rust-Mort". It's a rust converter and leaves the metal inert. It works well, but you have to remove all loose rust prior to treating.
The greenish grey stuff (that looks like gum) is 3M "Heavy Drip-Chek Sealer". It comes in a tube like toothpaste and you just "squish" it into place. It dries over night and seals all the gaps and any holes.
Next I masked off the car and painted all the seams with white PPG "DP" primer. DP primers are a sealing primer and seal out all water. A normal primer does not seal out water and prevent rusting!!
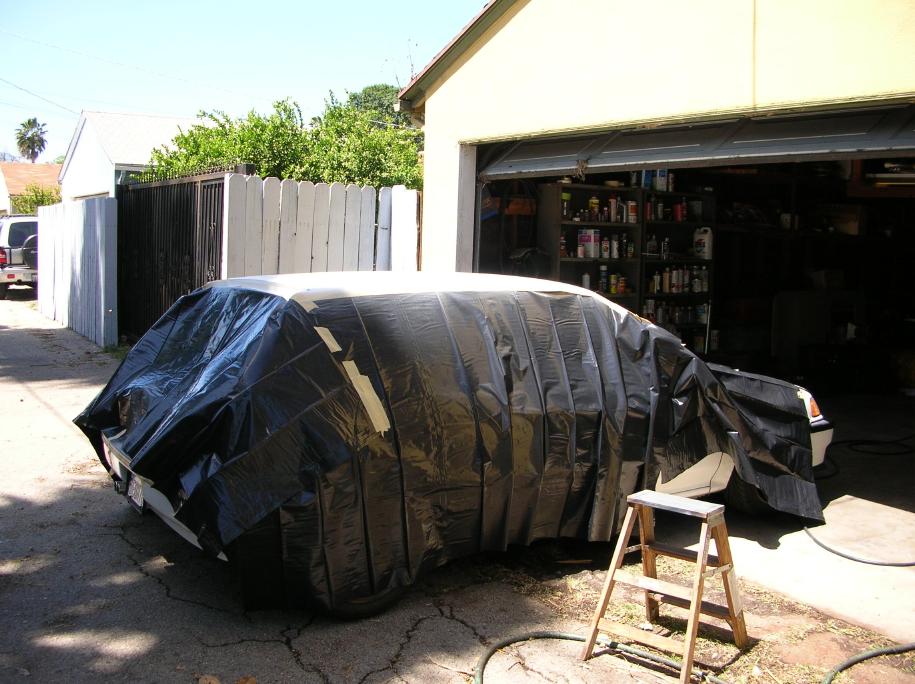
It should be noted that using plastic to mask off a car really isn't normally a good thing. The reason is that some paints can react with the plastic and melt it! I've got to get a roll of masking paper at the automotive paint supply, but it was Sunday. The cost of a roll of real masking paper isn't that high and it makes doing the job a lot easier. Ya, I've used newspaper, but it's not really worth it for the money.
Here are close-up photos;
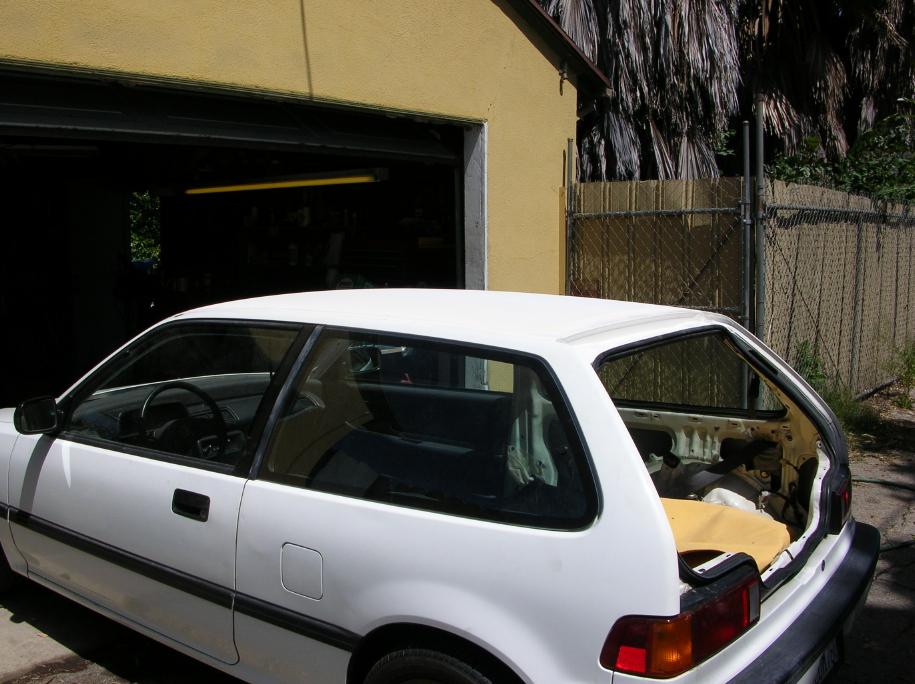
And finally a photo to close this page;
Closing comments;
1. Although it's ok to roll around the car while the roof is out, I'd recommend that you don't do anything that would twist it (like jacking it up at one tire).
2. At the time that I'm calling it quits on this page, I've still got to install the new headliner, re-install the interior, and then have the new windshield installed. But then again, I guess I should re-paint it prior to putting in the windshield.
3. This was a lot of work but with the correct tools not really all that difficult.
4. You can't buy a new grey headliner from Honda for an 88 or 89. I ordered one for a 90 and the difference is that starting in 1990, Honda added a seat-belt indicator housing that goes around the rear-view mirror mount. You can use the older mirror, but will need the indicator housing to cover the large hole in the headliner. I got one from a friends junk yard and ordered from the dealer the grey plastic outer pieces (the piece that snaps on seems to always get broken and needs to be replaced). I'm not going to use the indicator, but have some ideas on mounting a magnetic momentary switch there for the fuel cut-off.
return to my site's entry page
Wes Vann