My Rust Diary
June 23, 2008; some work on the inside surface of the "longs" and putting in the cross-member / firewall;
You have to keep in mind that most of the stuff shown on this page is only applicable if you are converting the car to a water cooled engine. This means that the heater ducts are not required.
I had focusing issues with my camera and I didn't know until it was too late. Sorry.
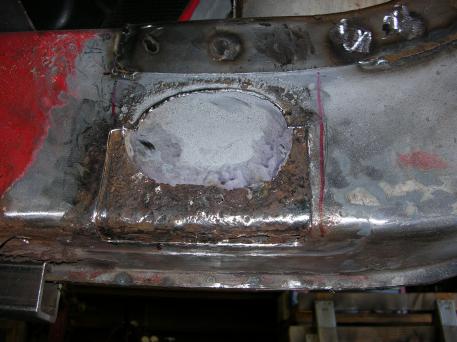
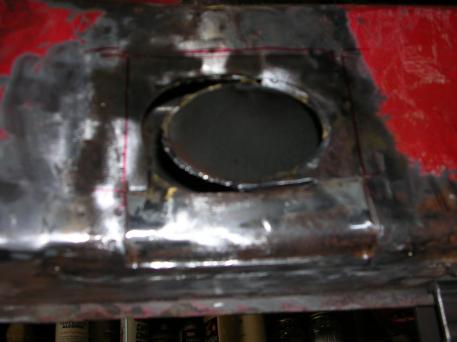
Working on the passenger side "long" "air hole";
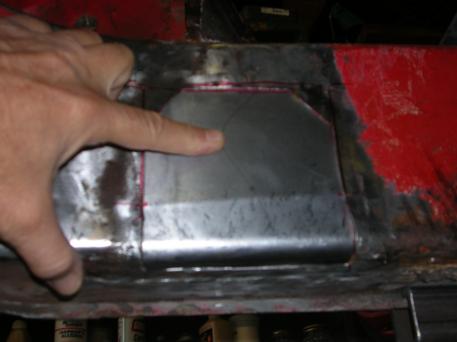
This is pretty much self explaining. I first off cut out the rusted outer skin at the lower edge, then made up a filler plate. The reason you can't see through the hole is that I welded in a filler panel from the inside while the long was apart.
I then did tack welds between the outer skin and the inner skin. The filler plate was notched to clear the tack welds.
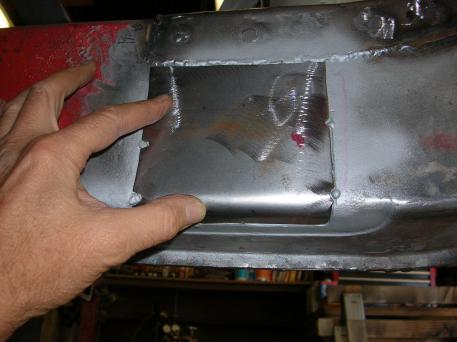
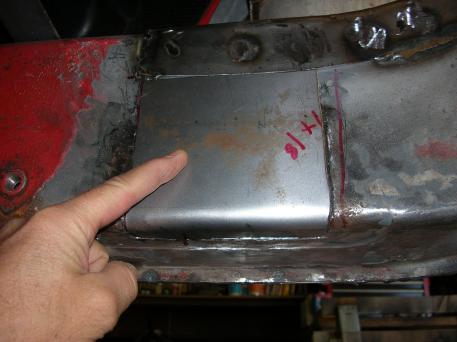
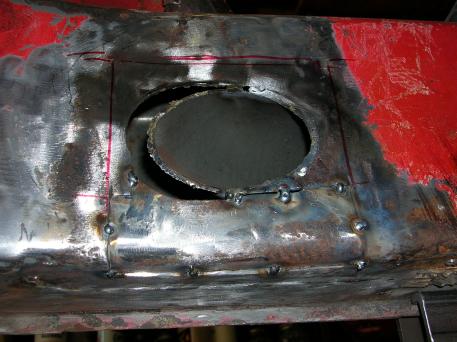
Here is a photo of the welded filler panel and also one view from the other side of the car.


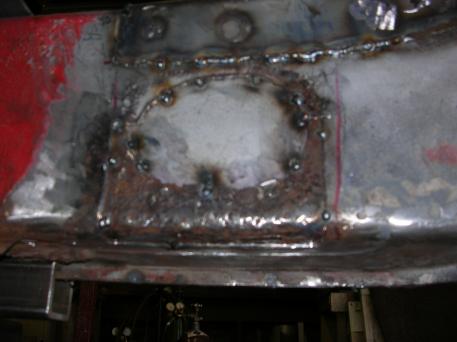
Working on the drivers side "long" "air hole";
This is pretty much the same thing as was done on the passenger side. The big difference is that I cut off the metal hot air tube flush with the inside face of the long and tack welded it so it doesn't rattle around.
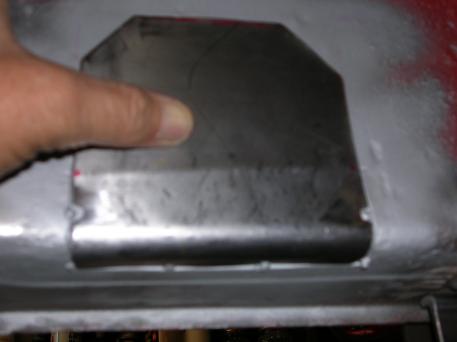
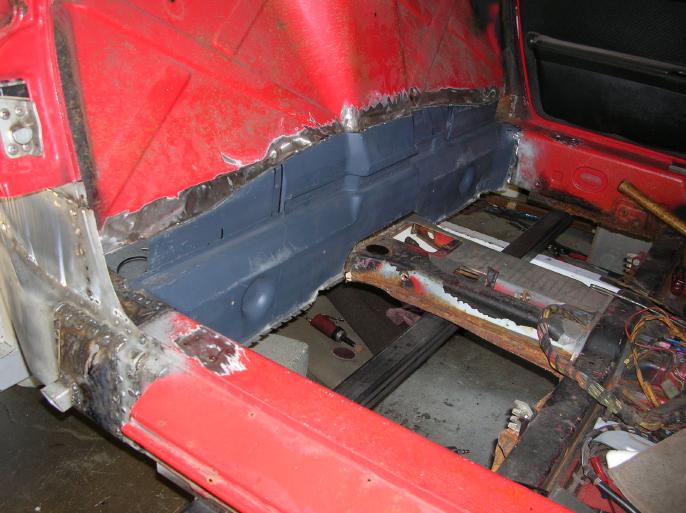
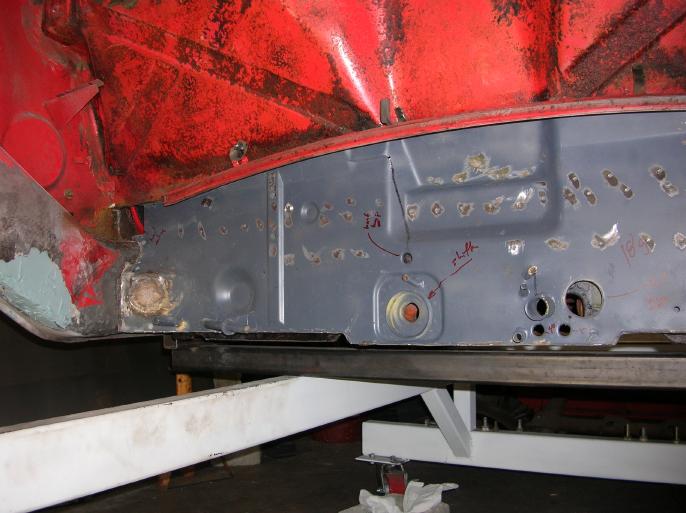
Putting the cross-member / firewall;
The previous owner had purchased a replacement cross-member and he did some work on it, removing un-needed sections. Pretty much just photos. You will notice that in the second photo, you can see where I welded in a filler where the hot air tube was. It was just tack welded at the two ends when these photos were taken.
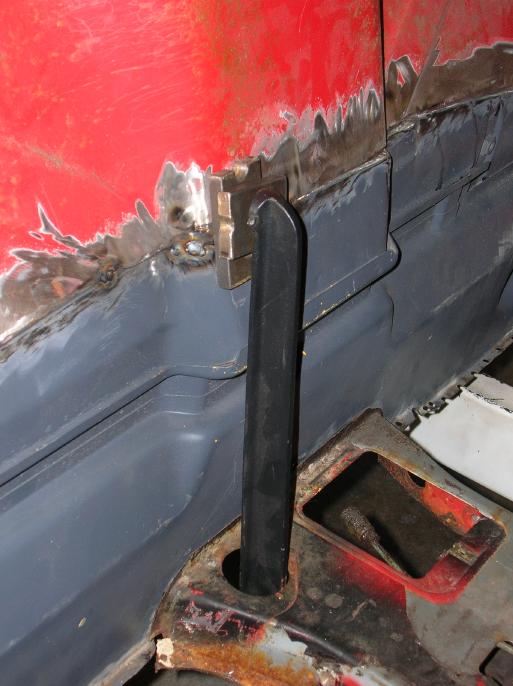
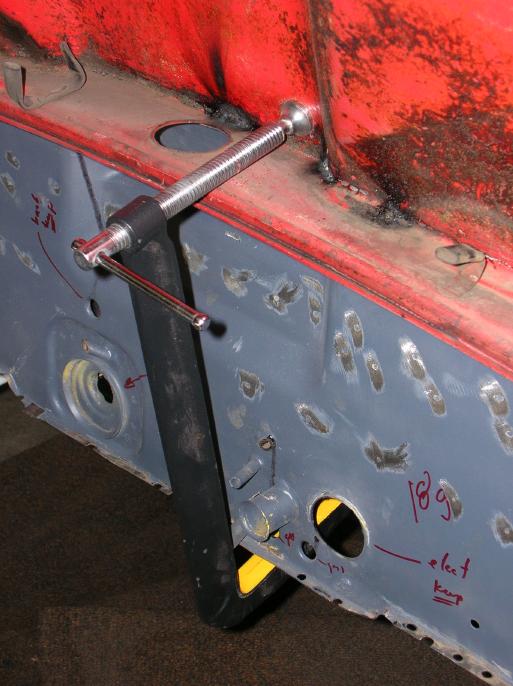
In the next two photos, you can see how I had to clamp it so that it was aligned. I had to do this clamping and welding starting at the center, working out to the two sides.
That's it for now.
go to the next "rust diary" page
go to the prior "rust diary" page
return to my "rust diary" entry page
return to my site's entry page
Wes Vann