My Rust Diary
August 29, 2008; more firewall / bulkhead work and installing the floor;
I haven't done much "rust" work for a while due to wanting to get the flares put on. Now it's back to work on replacing metal panels.
Addressing some of the firewall details;
When I bought the car, the prior owner had purchased a "used" lower firewall section. It wasn't in the greatest condition and the upper "wings" that go over the frame rails were trash.
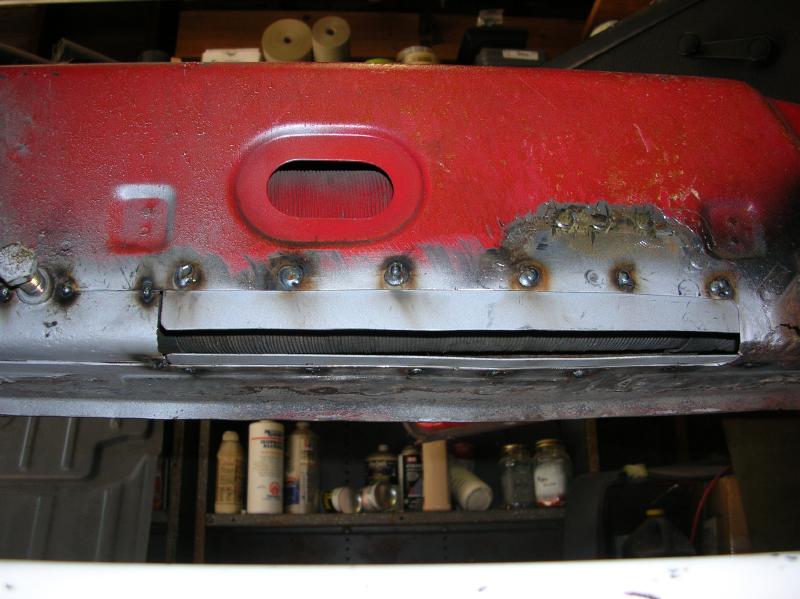
Here is a photo showing how I made up a filler plate for the passenger side and welded it in. (I've yet to do the drivers side)
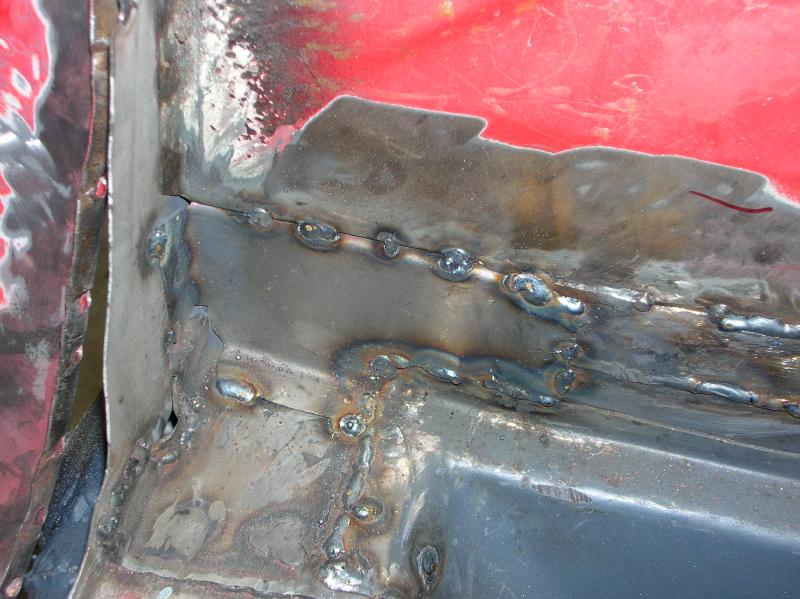
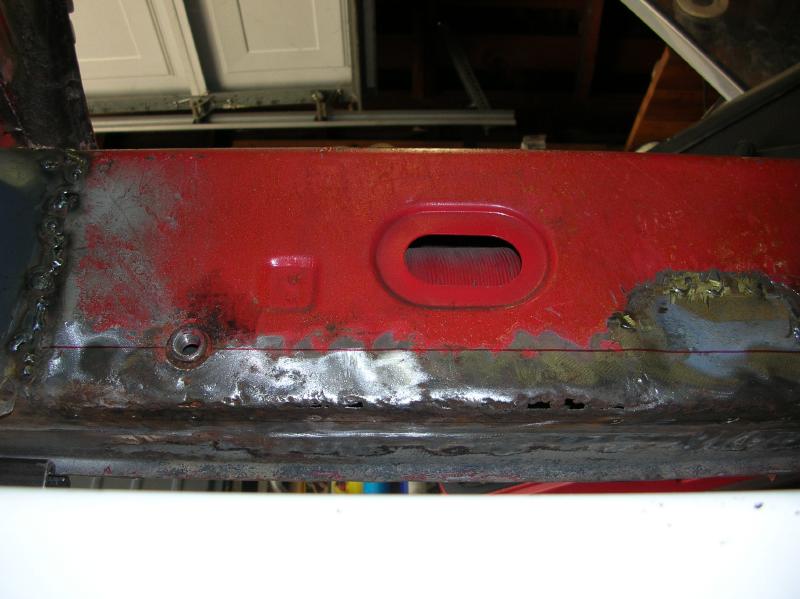
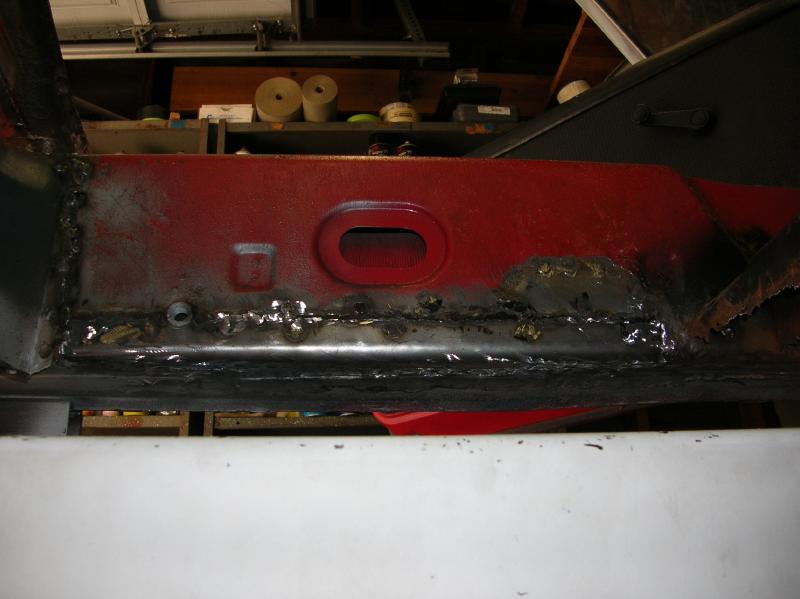
The fitment of the firewall / bulkhead at the rear passenger side wasn't right (I've no idea why!!) so I cut it out and fab'd up a replacement piece. (at the left in the following photo)
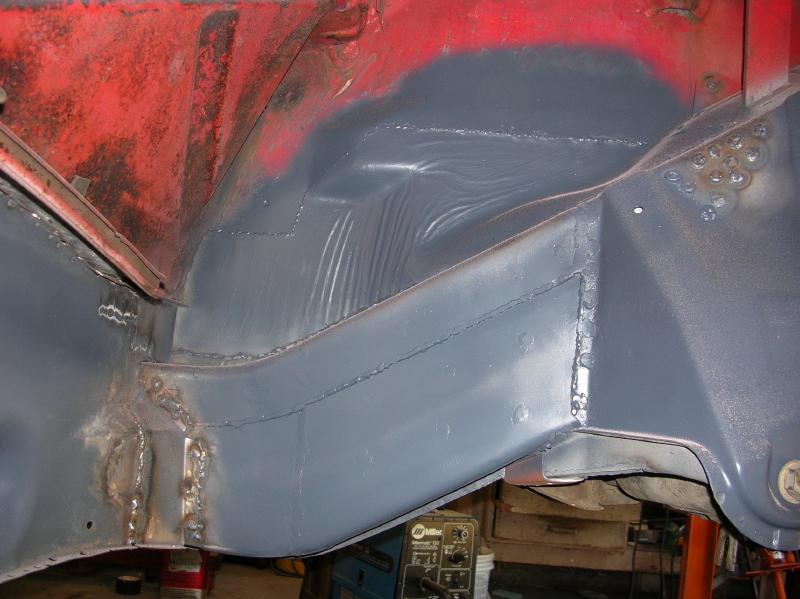
You can also see that I filled the hole that would be for the hot air tube (going water cooled).
Installing the floor panel;
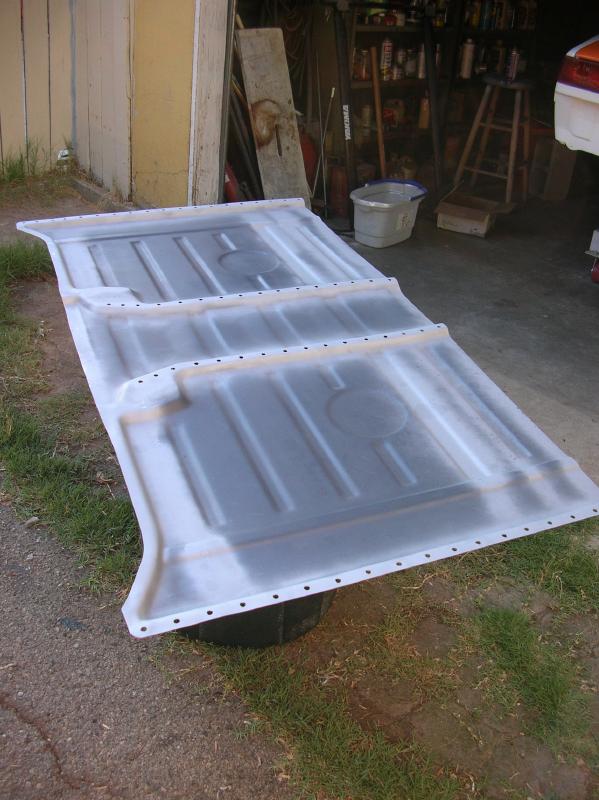
I put the floor panel (the prior owner had purchased it and it's made by Restoration Design) in place and sprayed white paint on the remaining section to give me a cut line. I positioned it based on the rear edge at the firewall / bulkhead and I'll comment on this more latter.
The next two pictures show what was left after cutting away the remainder of the floor (keep in mind that the prior owner had cut out a major section of the floor before I ever got the car). I'm keeping the photos large so you can see what I'm dealing with.
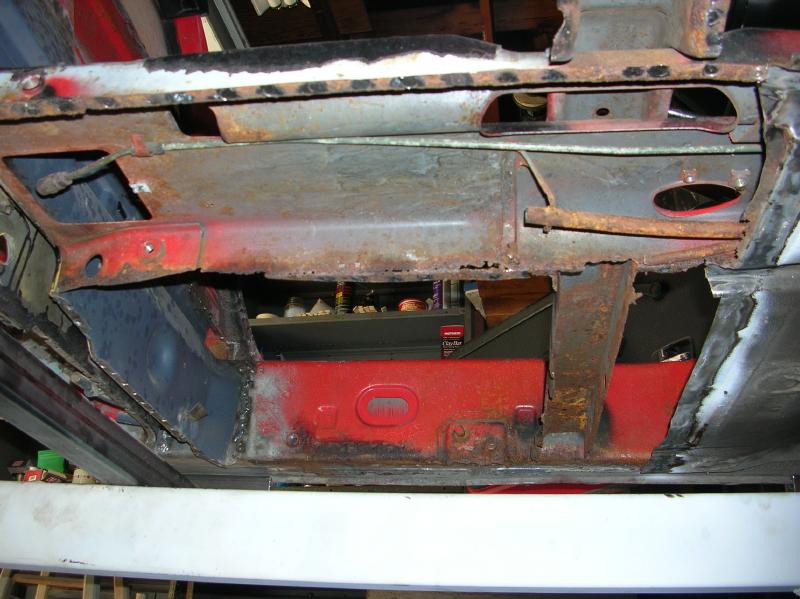
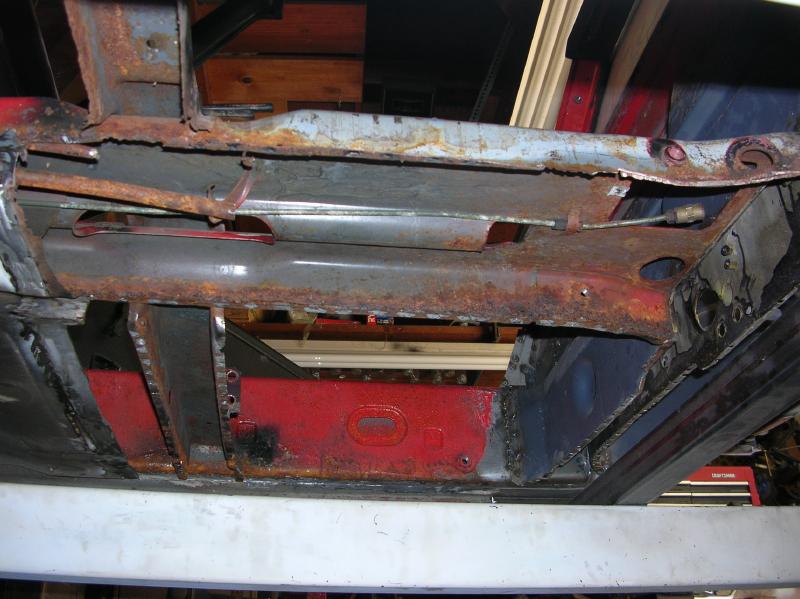
You should note that there are things missing from the center tunnel and also things messed up!
There are no fuel lines due to the fact that I plan on running larger ones.
The clutch tube has been cut short (I latter removed the whole thing) and it's support was damaged. This is why the prior owner couldn't get the clutch to work correct. I don't need this due to going to a hydraulic clutch.
The throttle cable tube was cut short. I may go to electronic throttle and will not need this. If it ends up I do need it, I'll splice a new tube on what is there.
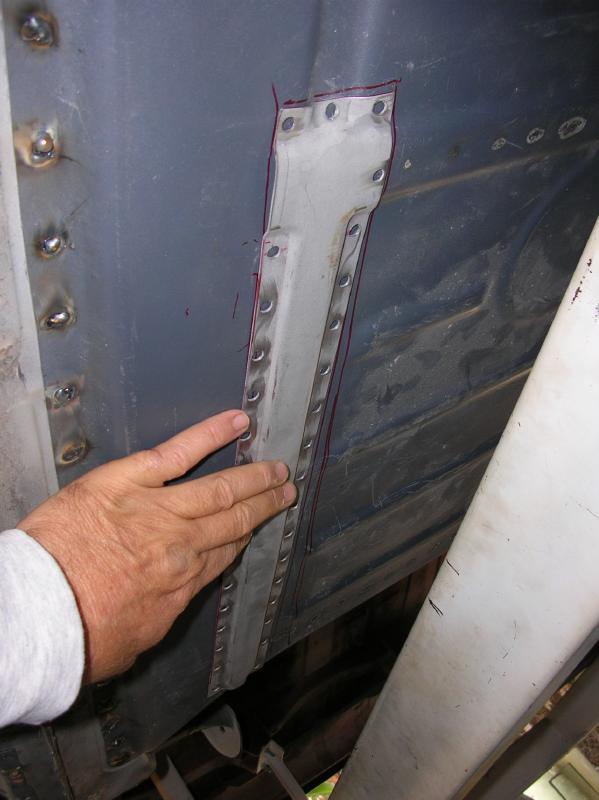
Notice that the bottom edge of the "tunnel" on the drivers side is trash. To fix that, I made up the plate shown in the next two photos.

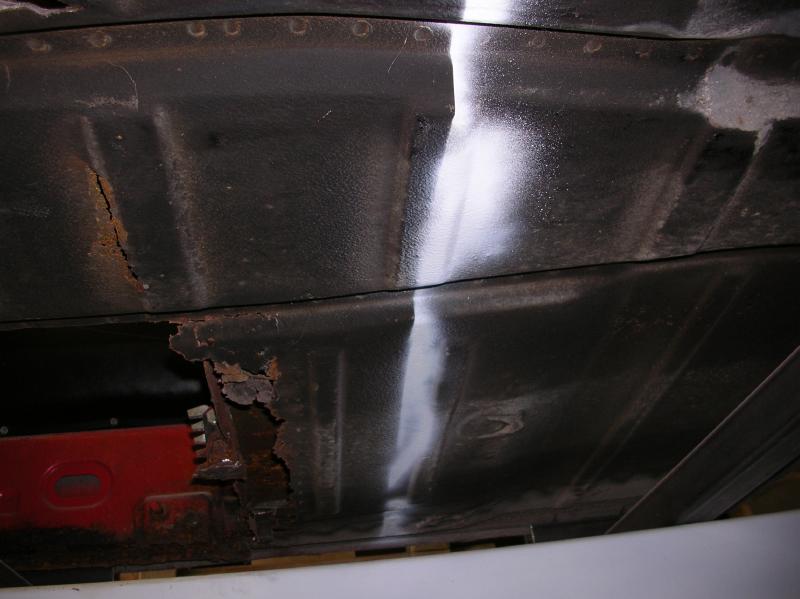
Then I had to deal with rust damage to the drivers side frame rail. This was rotted from the inside of the car and not from inside the rail it's self.
I cut out the bad section, welded in backing plates, and then welded in a replacement curved section.
Now a quick comment on the placement of the floor panel in regards to fore and aft;
When I positioned the floor panel, I just lined up the end of it with the flange at the rear of the firewall / bulkhead and it worked out fine. However there is another thing to keep in mind.
The floor has a series of ridges (or valleys, depending on how you want to think of it) running from side to side within the car (not really the full width). The position of these have to match the flanges on the cross-member that is at the front of the seat!!! This is due to the fact that the flanges on that cross member sit at different heights. If you try to install the floor and this isn't correct, you may never get it to lay flat.
In the following photo I'm showing the floor and I've sanded off where the seat cross-member comes in contact with it. Notice that on the right of the photo, it contacts a high point. On the left, it's a low area.
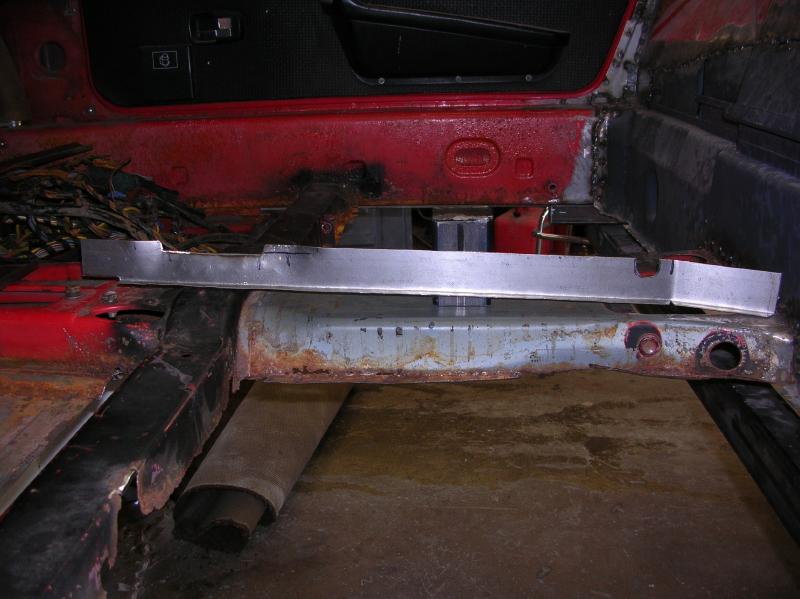
In the nest photo, I'm holding two pieces that represent how the seat cross-member would fit.
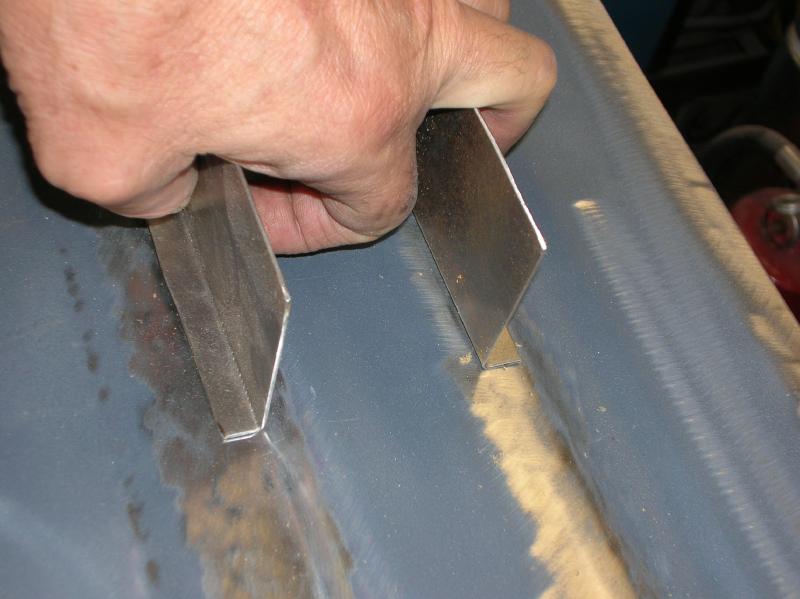
If I tried to move the seat cross-member to the right, one side would have to rise up and the other would fall into the valley.
So, just be aware and check this out before doing any major cutting or welding.
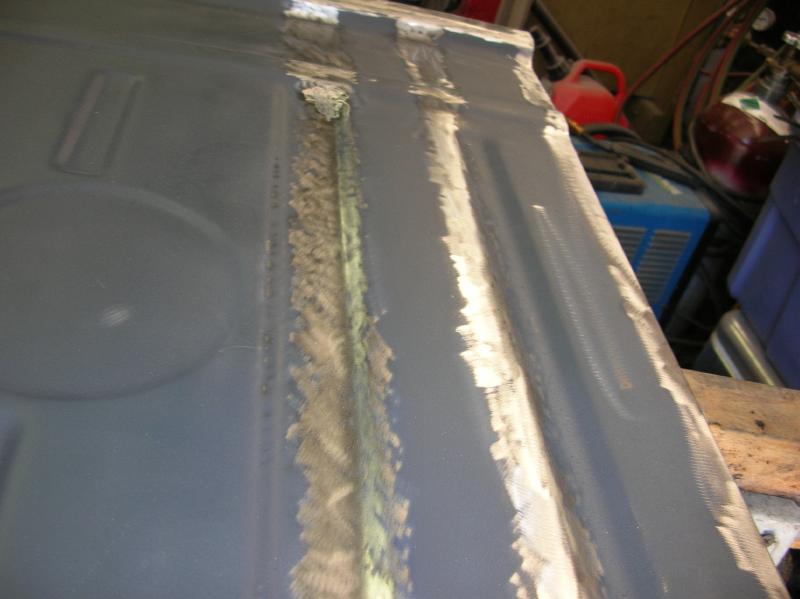
Here is the floor, ready to be welded in place;
The dark grey is PPG "DP" epoxy primer. The light grey is where I sanded off the DP and then coated it with "weld-through" primer.
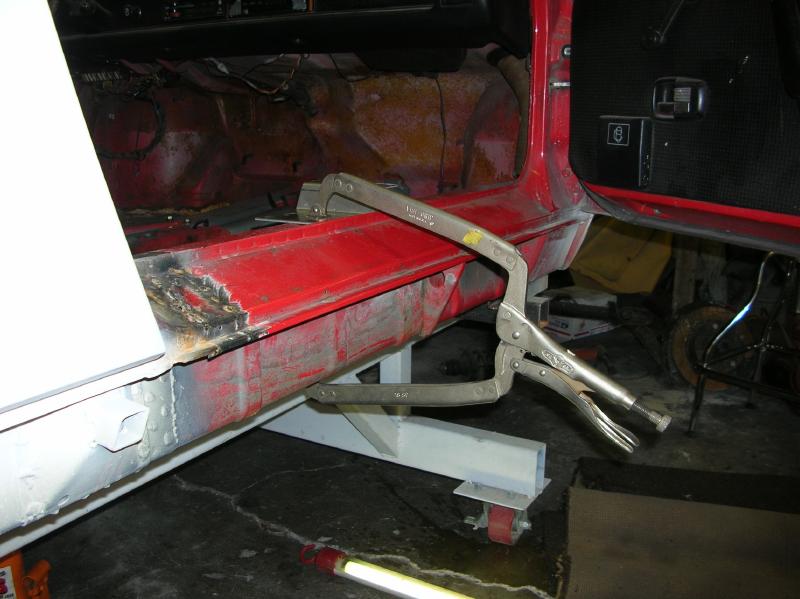
Welding it in place is pretty much a no brainer, but holding it in place can be a trick.
Along the edges I used some big vise grip pliers as shown in the following photo.
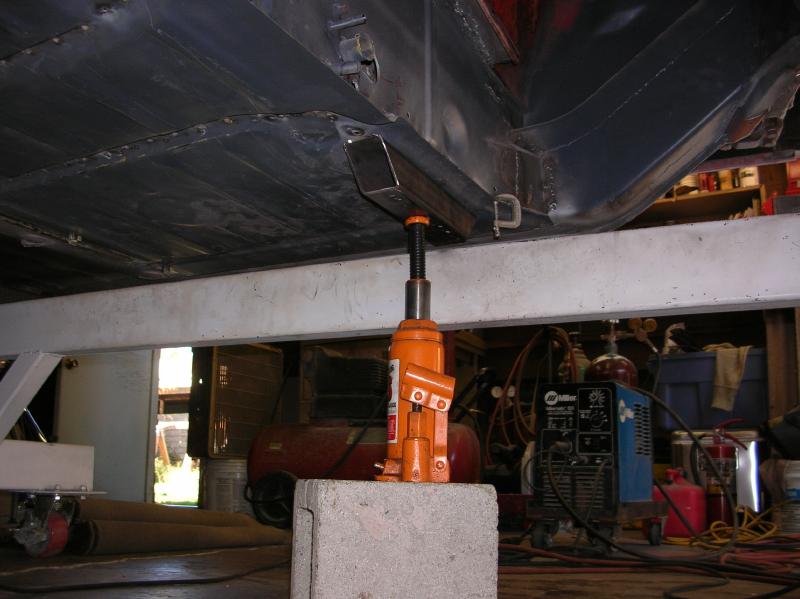
Where I couldn't get a clamp, I used a jack to hold the panel snug against the main part of the body. (there was a lot of re-positioning of the jack required)
Up next was adding the floor stiffeners.
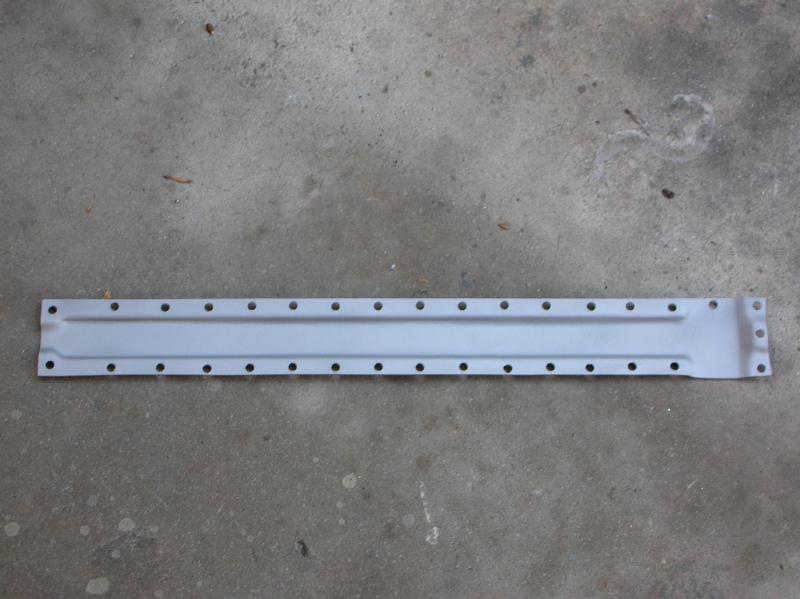
Notice that there is that one "odd" hole. It's on purpose and makes a little sense if you look on the photo on the right. Due to how the stiffener is shaped, it doesn't come in contact with the floor where the "missing" hole would go. After drilling, there is a left and a right!
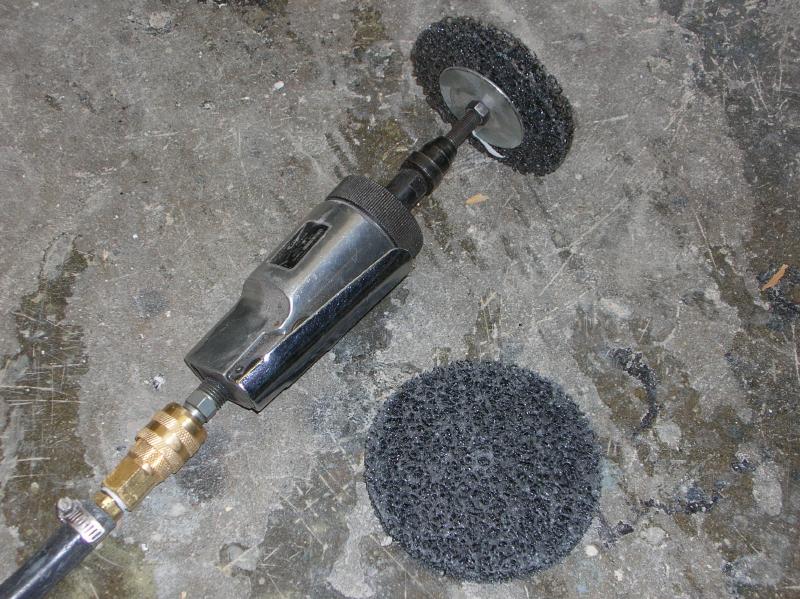
I normally don't go into the subject of tools, but these two items may help you.
The first is a sanding disk that 3M sells at automotive paint supply shops. It works REAL well on sanding off rust and paint. It doesn't remove hardly any metal (it has to remove some, but it's not much). Wear eye protection when using this!!
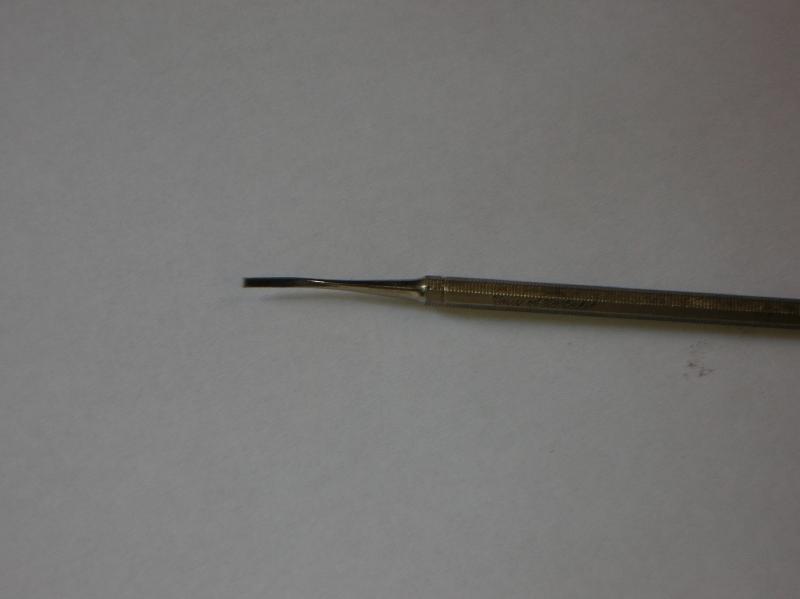
The next one is just a dental pick that is used to scrape crap off of teeth. I have found that it's a lot easier to weld in those drilled holes if I first scrape off any "weld-through" primer. It's just easier and cleaner getting the weld started. This pick works perfect. The tip is some kind of hardened steel (stainless??).
That's it for now.
go to the next "rust diary" page
go to the prior "rust diary" page
return to my "rust diary" entry page
return to my site's entry page
Wes Vann