My Rust Diary
September 1, 2008; fabricating the suspension console ties;
What are the suspension console ties?
When I first sat down to write this page, I was intending to go into a big physics diatribe to show why these are so important. It's just not worth it. Suffice it to say; "they are REAL important in regards to how the suspension consoles are tied together and anchored to the frame rails".
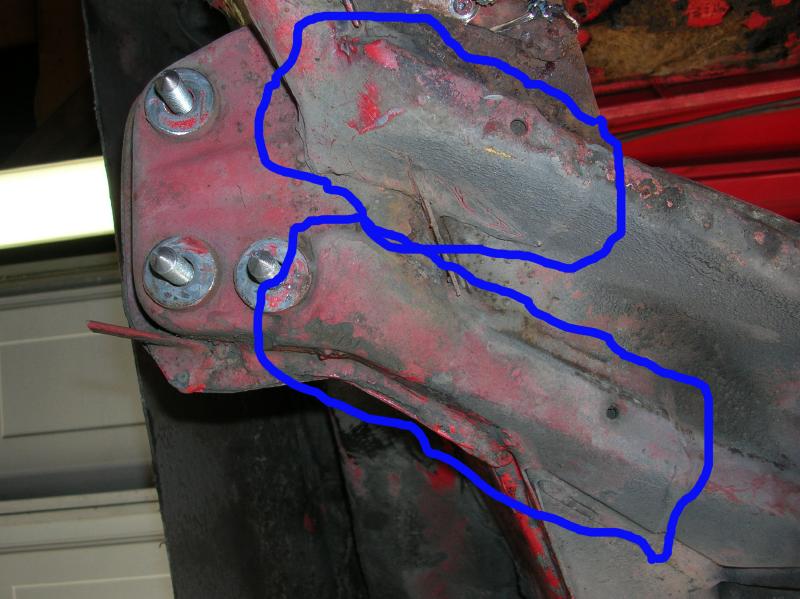
In the following photo, I've circled the two ties.
The one show in the top of the photo is the one most toward the front of the car and is still (at the time of this writing) available. It's part number 914 501 142 10 for the passenger side. The lower one is no longer available, but it's part number is 914 501 144 10 (also, for the passenger side).
What they do is tie the two suspension consoles together at the frame rail / box section. That raised "ridge" running up and down in the photo is the pinch welded section of the frame rail.
The problem I had, and I've got to guess a lot of others have, is that I needed to remove and replace the two consoles to do rust repair. I was able to get off the consoles and fix them (a replacement inner console is available), but in the process the ties get totally cut up.
I got the short one from Auto Atlanta. It's a factory part and is a 12 gauge stamping.
Now you have to be aware that I don't have any specialized sheet metal working tools like a shear or brake (for bending). All of the stuff I'm going to show was done using a skill saw to cut the pieces and a BFH and vise to bend them. All of this was done using 12 gauge steel sheet.
Due to the fact that I'm limited in how I can bend stuff, I decided to make up the brackets in two pieces each.
Parts "C" and "D" are not really needed in most cases. I added them to spread out the load. The inner console was weakened due to rust and I wanted the extra protection.
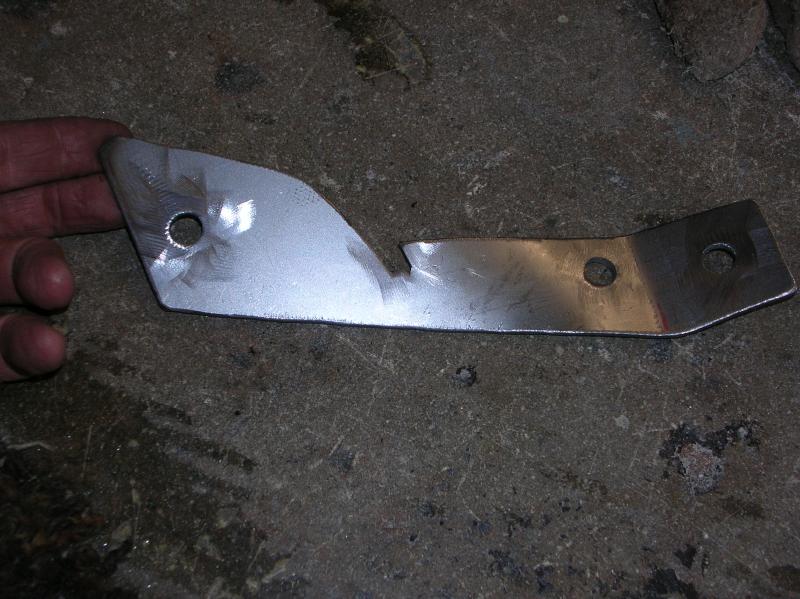
Part "A";
Although I didn't take a photo of it, I started with a piece of hard paper and made a template first. I then transferred it to metal to make the following piece.
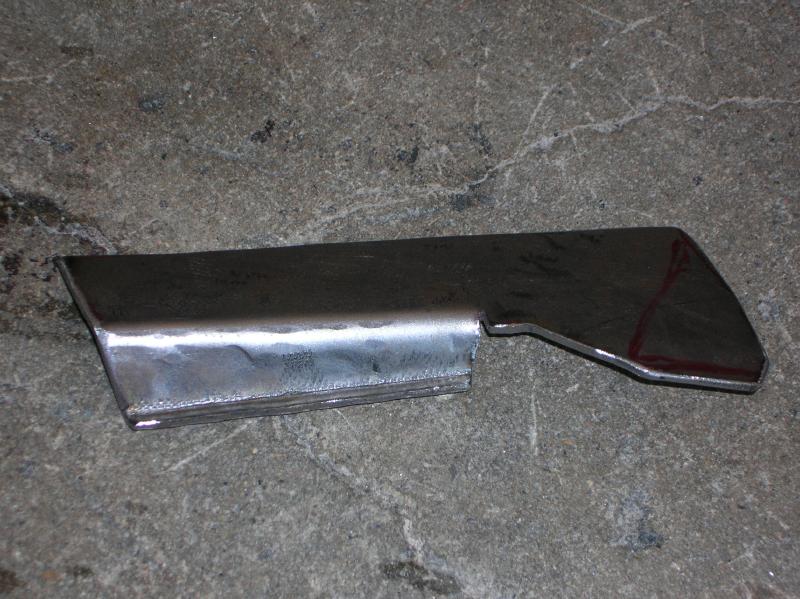
That lower bend is required so that you can get a good weld in that area (it's pocketed in at a weird angle).
Here I'm holding the piece in place.

That red line on the piece is a bend line.
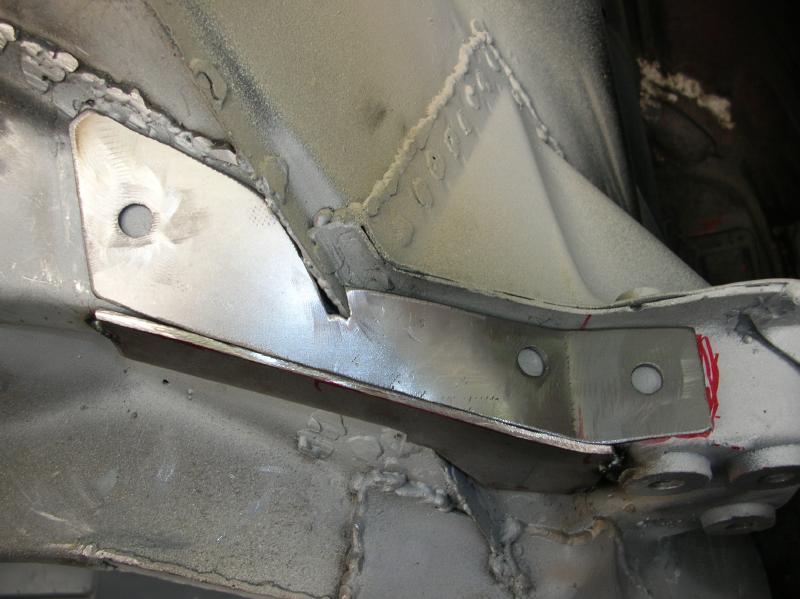
And here is the piece tack welded in place.
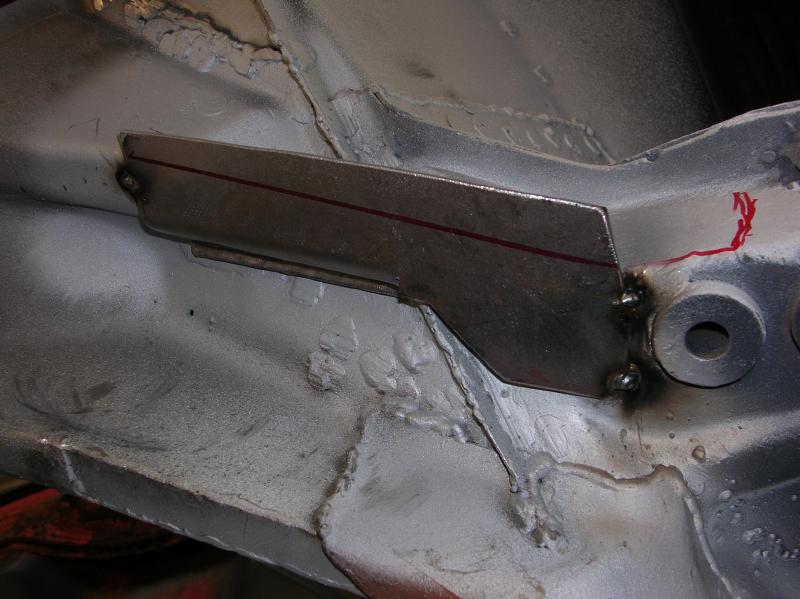
That new red line on the piece is a trim or cut line.
Part "B";
In the following photo, I'm showing the template for part "B".
Here is the metal piece after cutting and drilling for rossette welds.
It's hard to see in the photo, but there is a "twist" to the piece.
And finally, the piece in place, ready for welding.
Part "C";
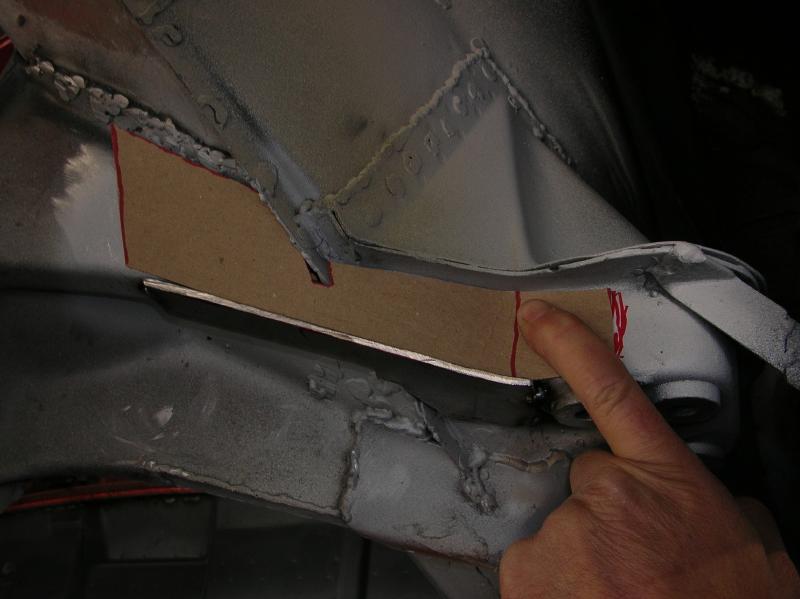
Due to the fact that my original inner console had been weakened due to rust, I decided that it would be worth while "extending" the factory tie. This section of the console rusts out from the inside, so if you don't know the condition, I'd recommend you do this.
In the following photo, you can see the factory piece, (in brown) and also the curved section that is part "C".

Part "D";
This part is just too easy, but here is a photo.
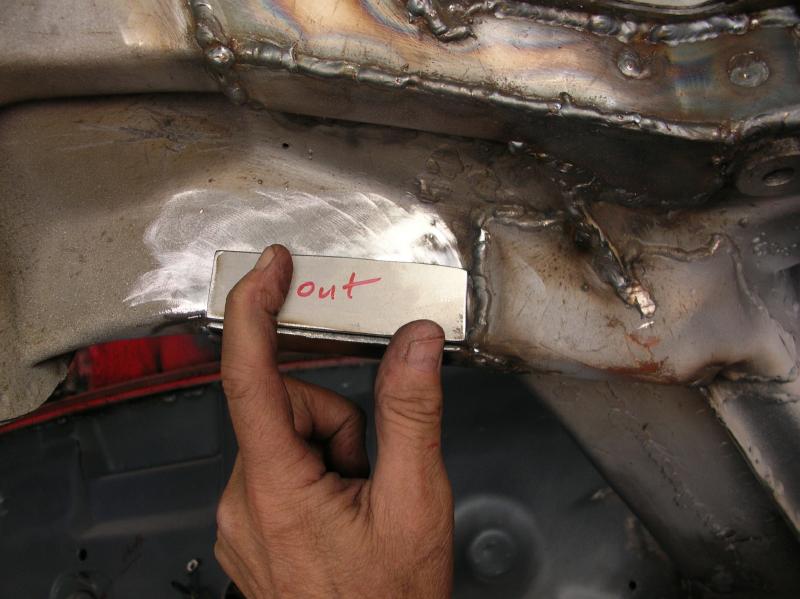
To the right of the new piece is the factory "tie".
"Finished" photos;
This photo is shot as if you are the rear tire, looking toward the front of the car.
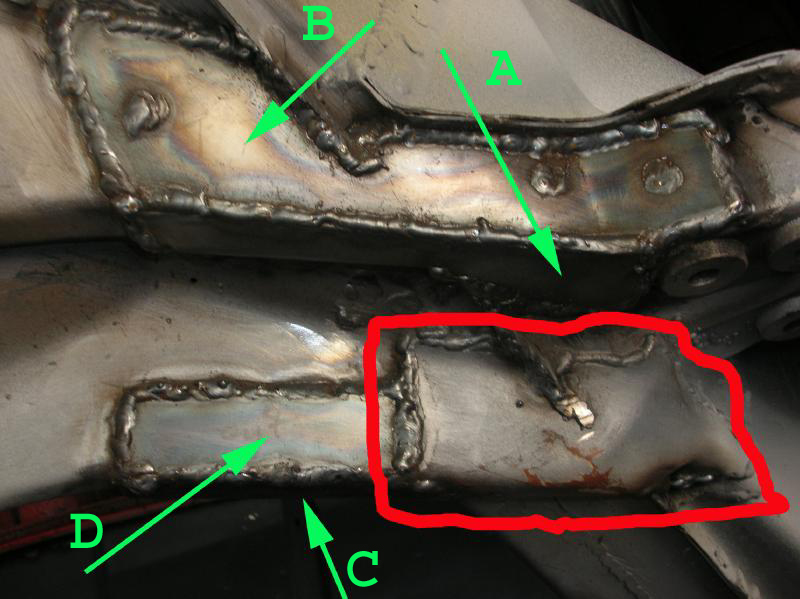
(Damn I hate large scale photos of my welds)
Circled in red is the factory tie.
The arrows point to the various pieces.
The next photo is shot while laying on the ground, slightly forward of the suspension consoles. The top of the photo is toward the front of the car.
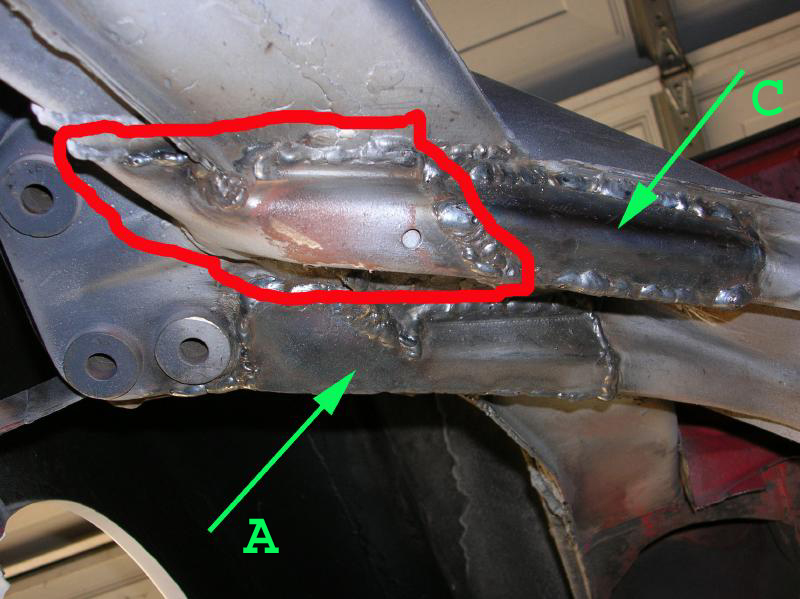
As in the prior photo, the bracket circled in red is the factory piece.
What I didn't talk about earlier is that the area upward and to the left of the "A" arrows tip was heated with a torch and hammered upward. This had to be done due to the strange shape. The hammering ("forming" sounds so much better) was done after piece "A" and "B" were welded together and to the consoles.
Yet to be done is drilling drain holes and painting.
That's it for now.
go to the next "rust diary" page
go to the prior "rust diary" page
return to my site's entry page
Wes Vann